Making my Sculptures - Step by step process
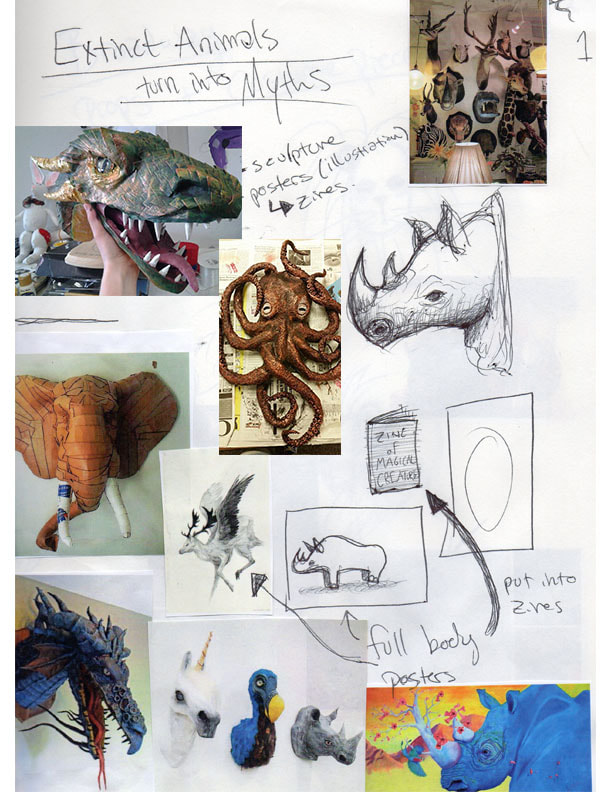
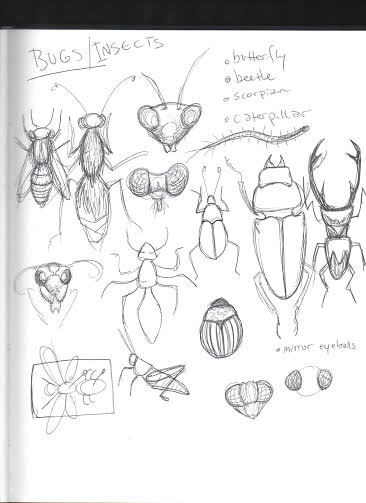
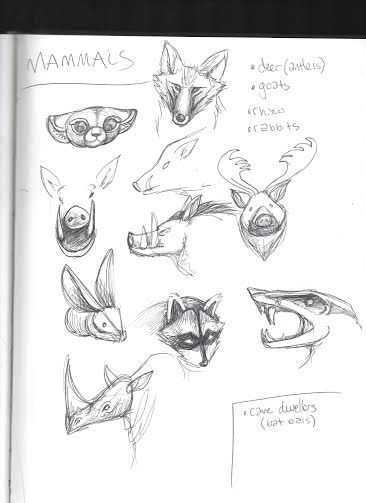
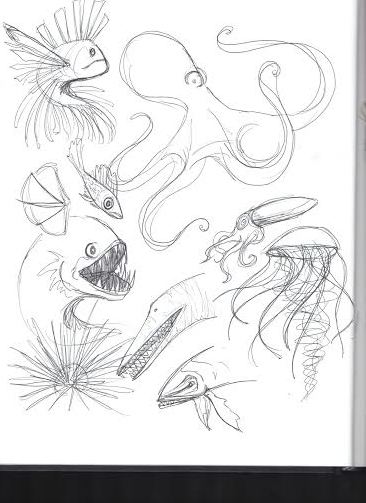
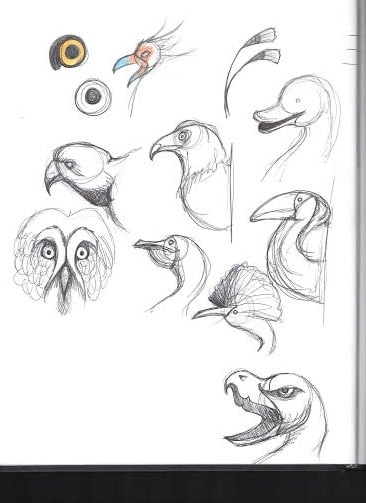
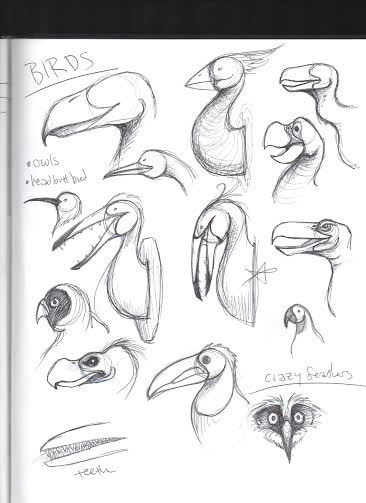
First, I have to sketch my idea. I use a lot of reference photos to make my characters as believable as possible.
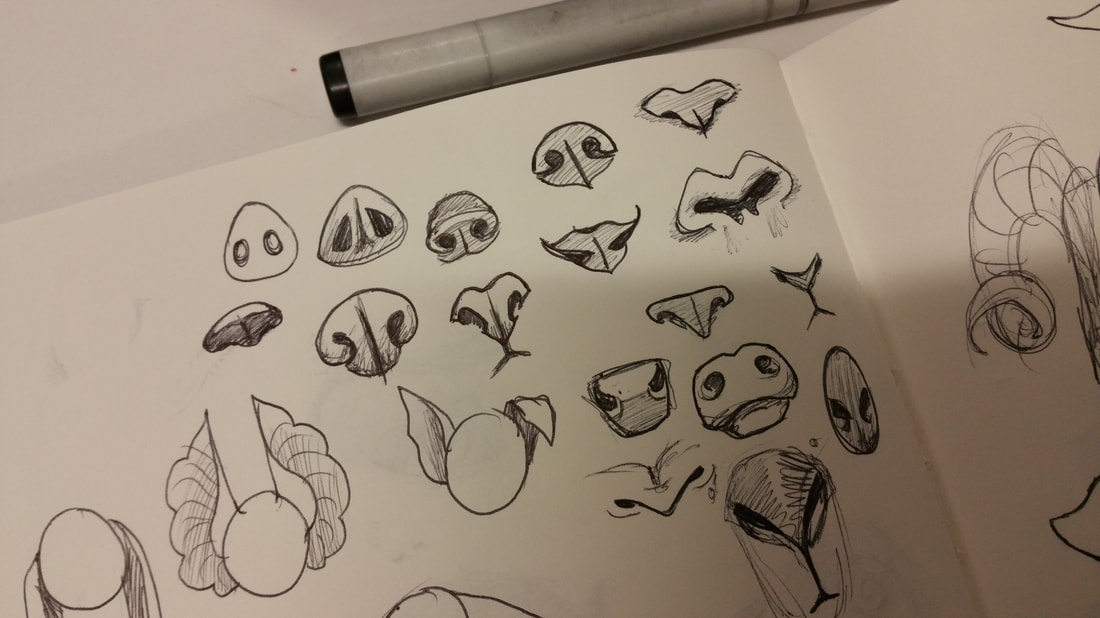
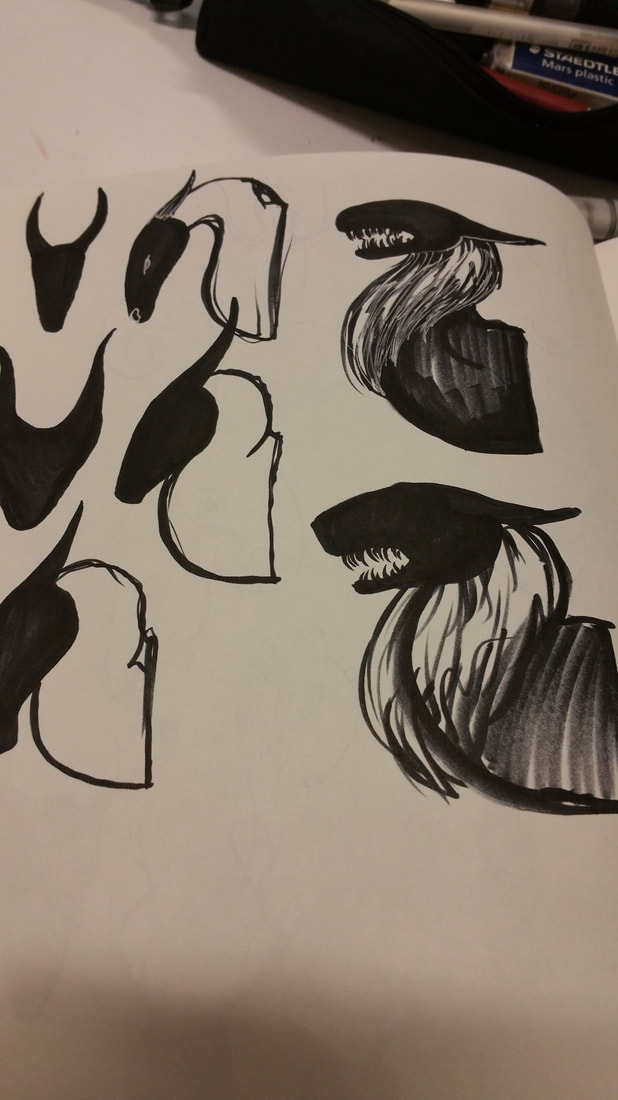
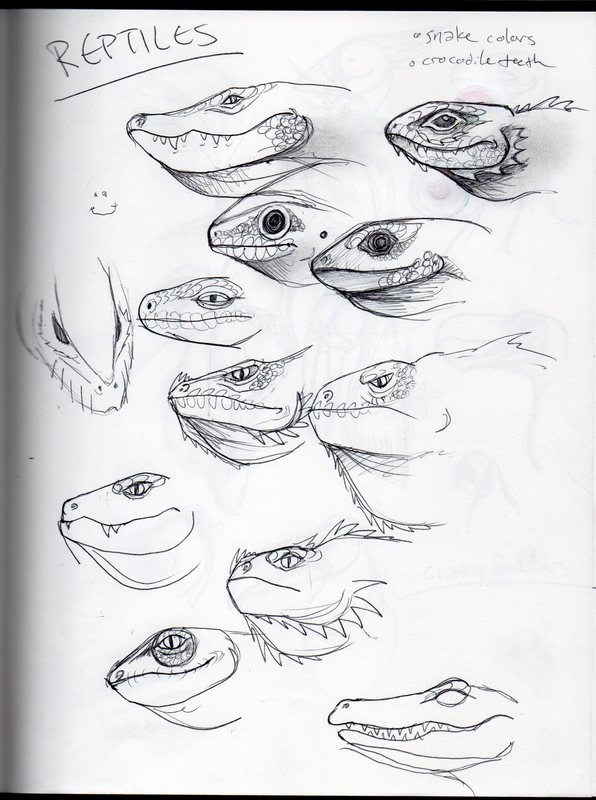
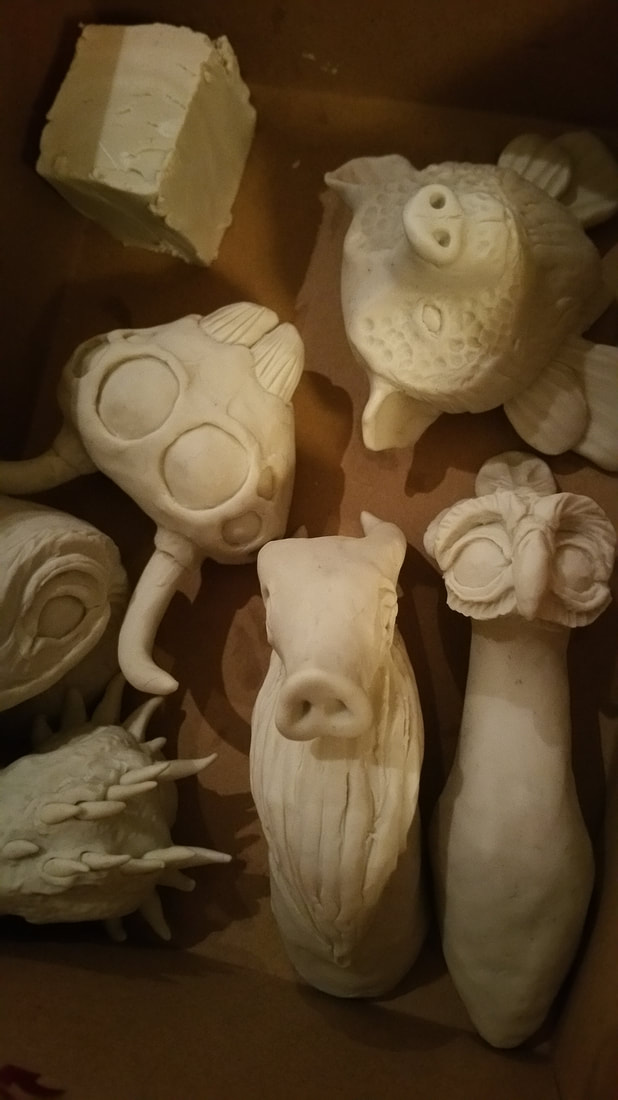
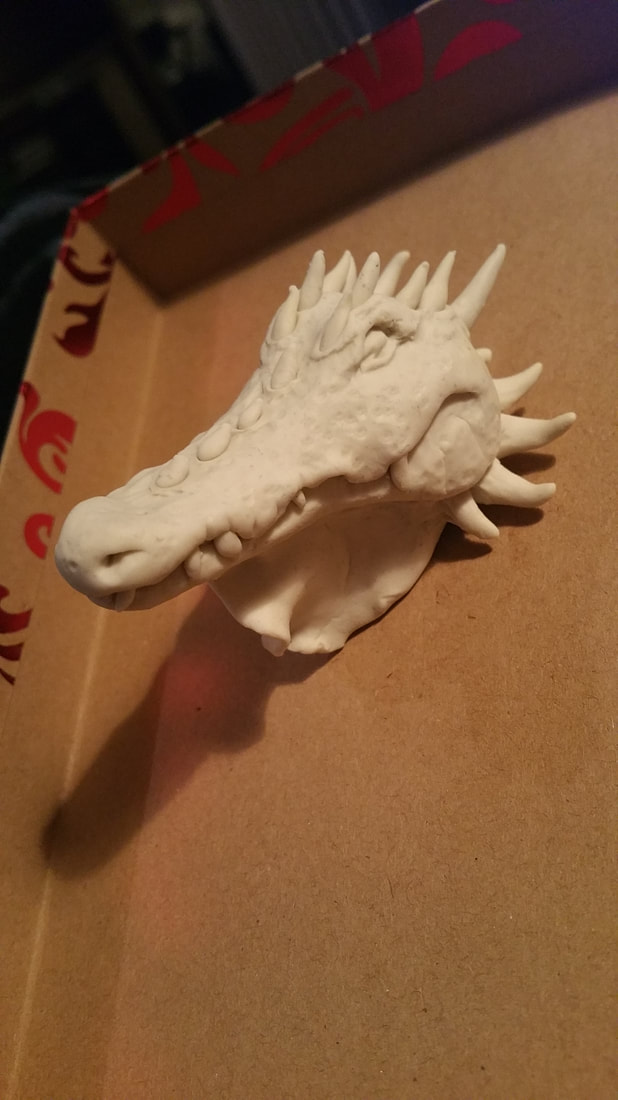
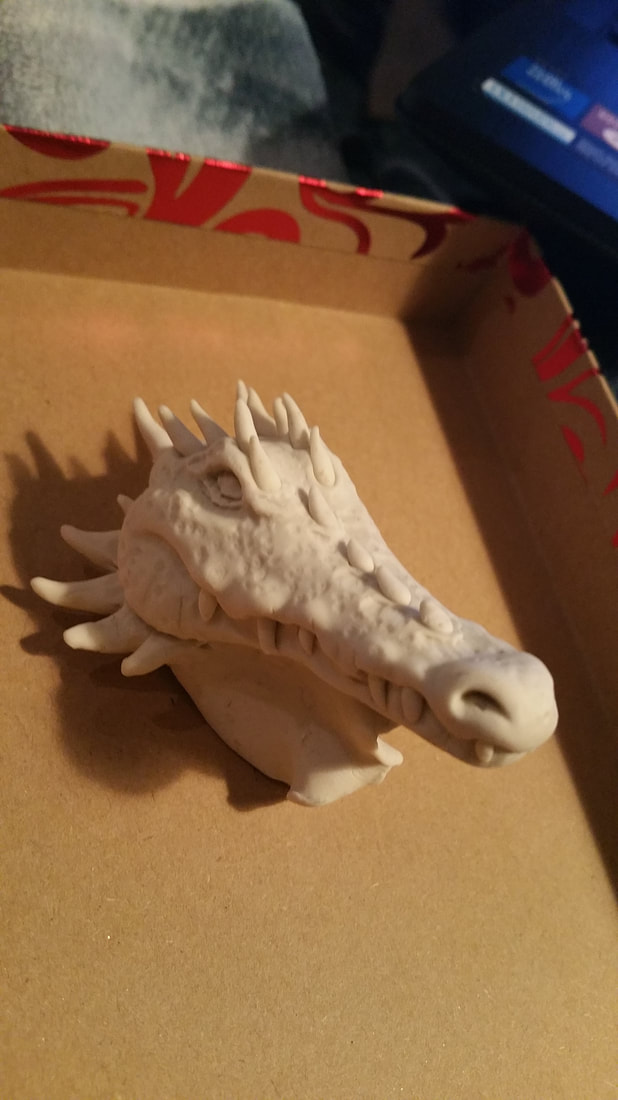
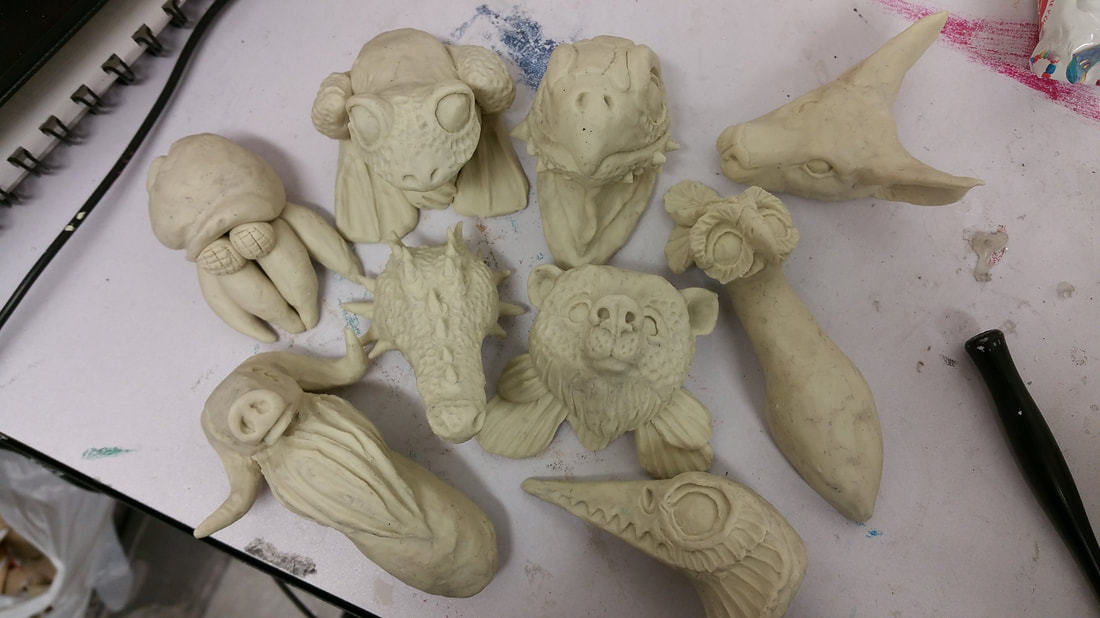
I make tiny sculptures out of modeling clay so I really know my character before I start my big sculpt.
I spend a lot of time on these, I want to know what I'm doing.
I spend a lot of time on these, I want to know what I'm doing.
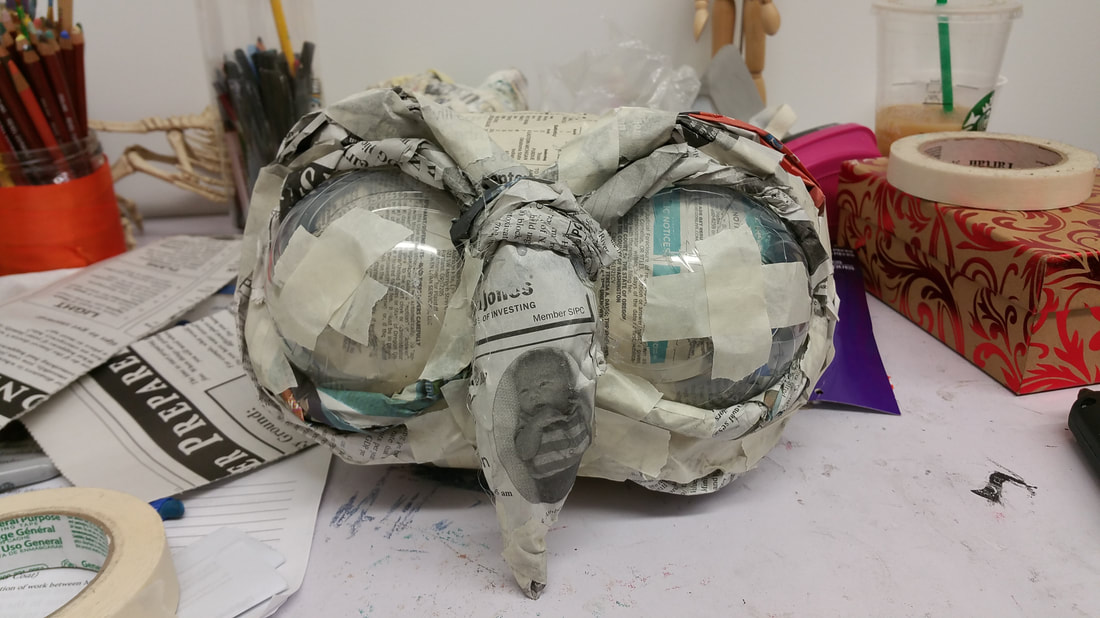
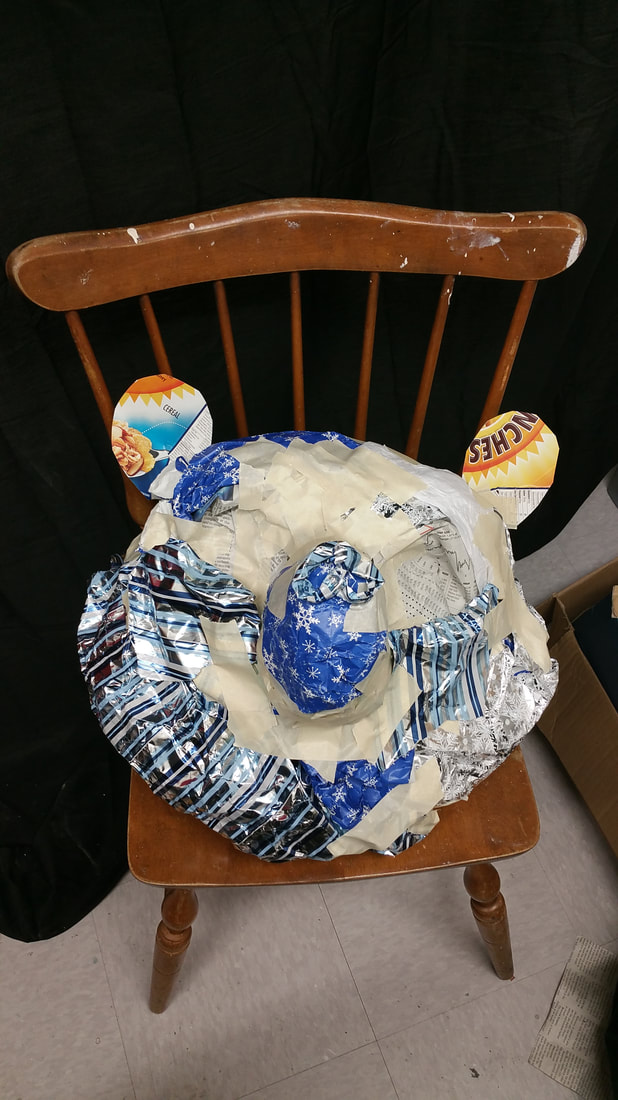
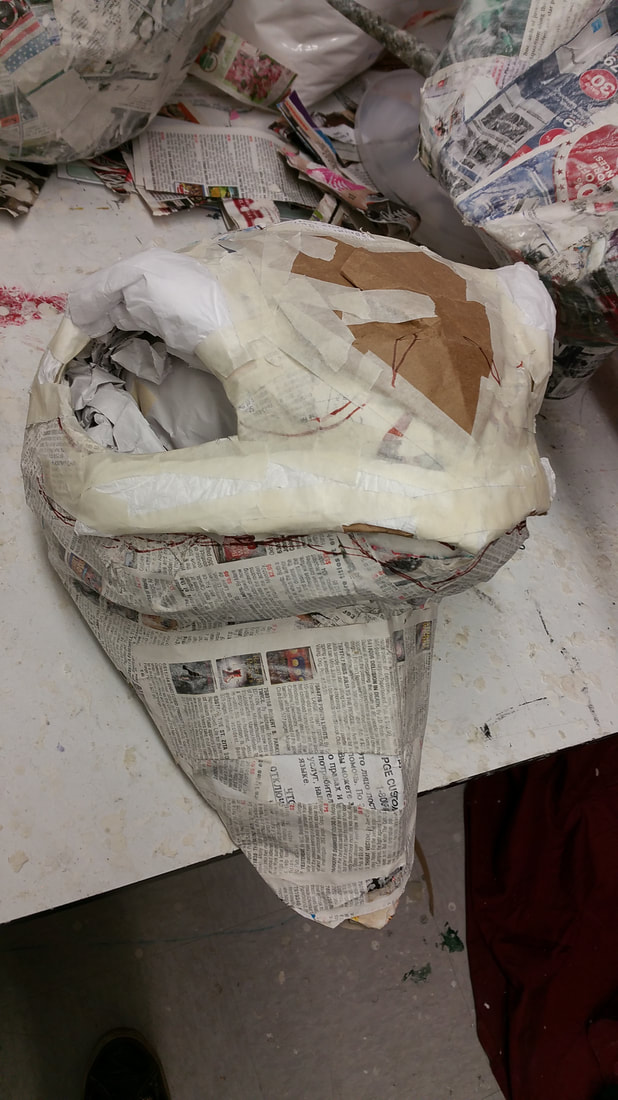
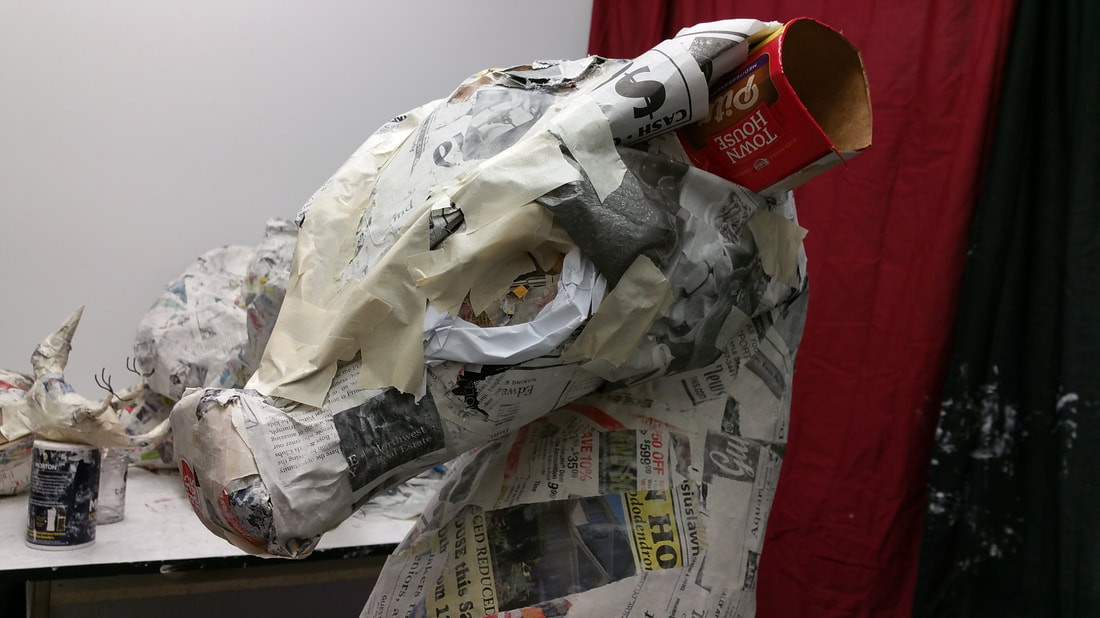
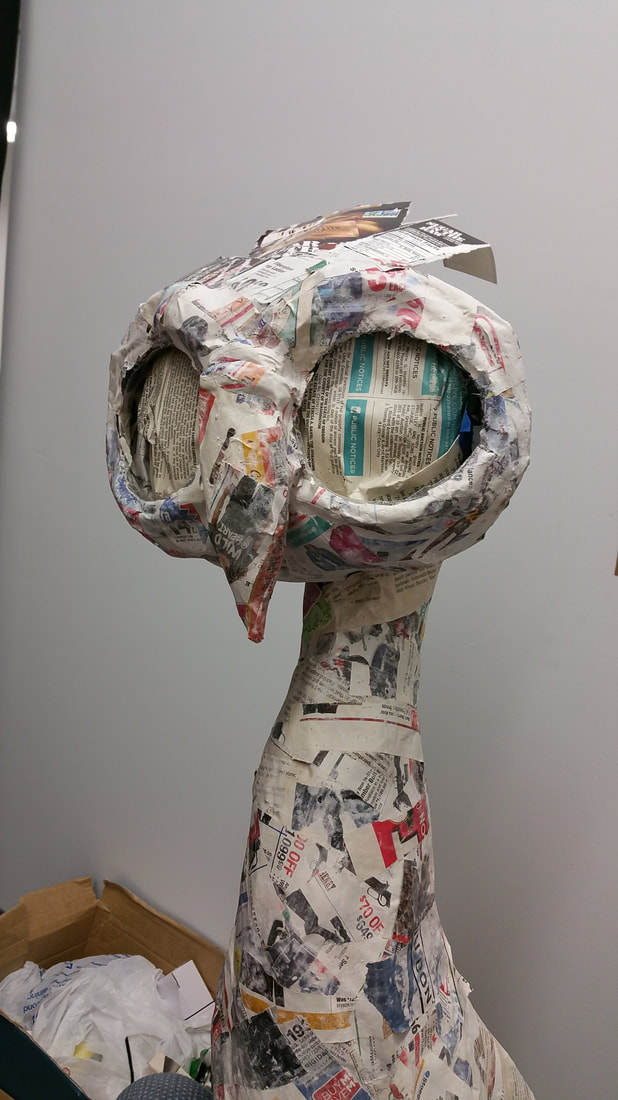
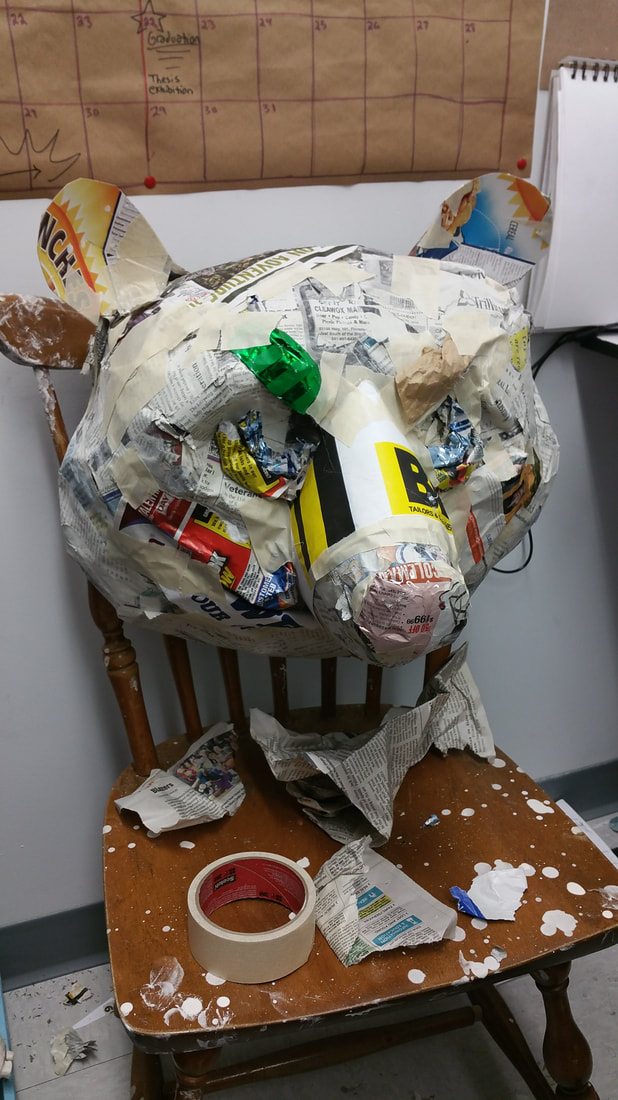
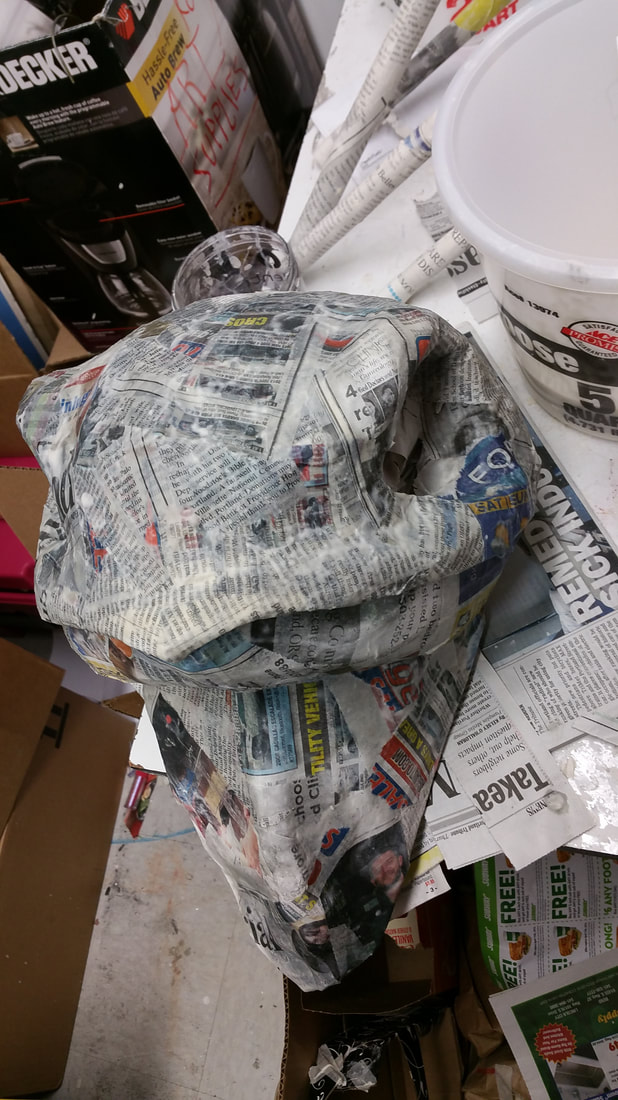
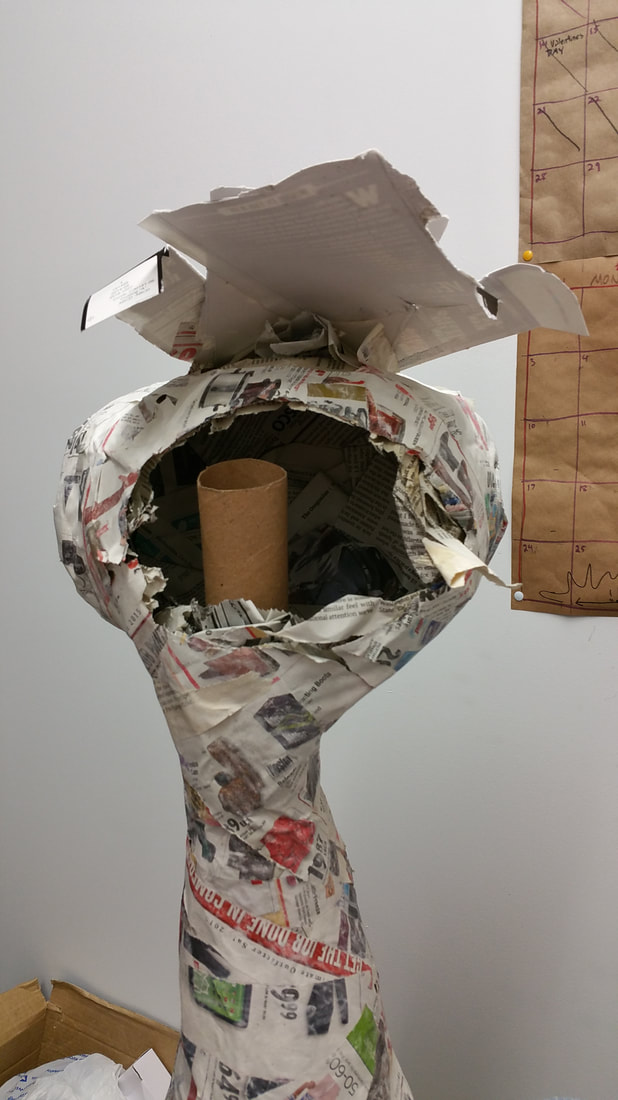
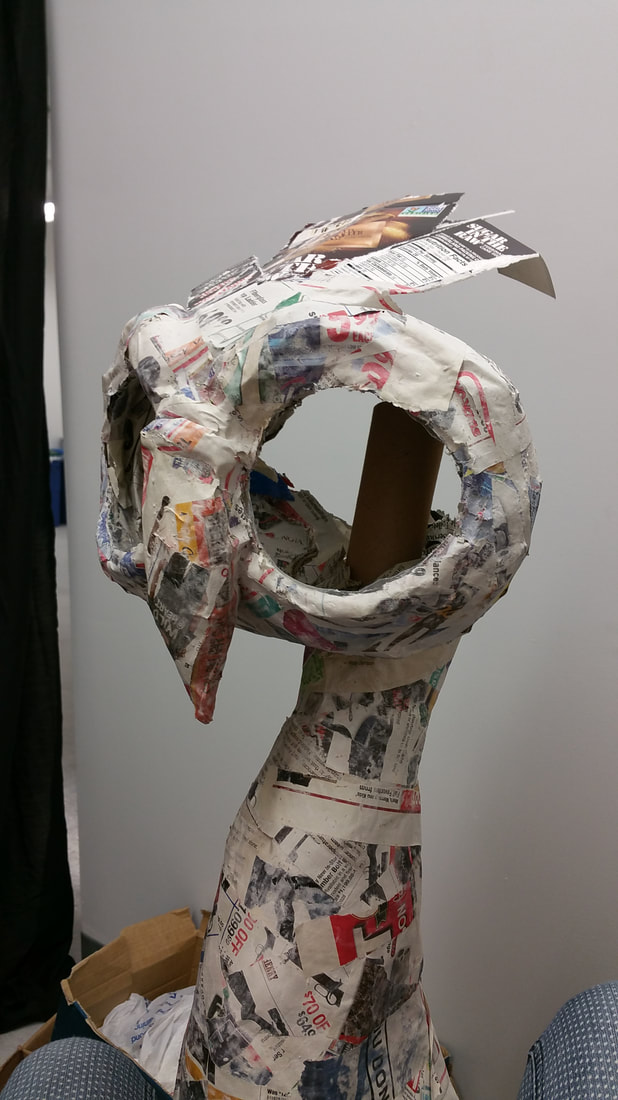
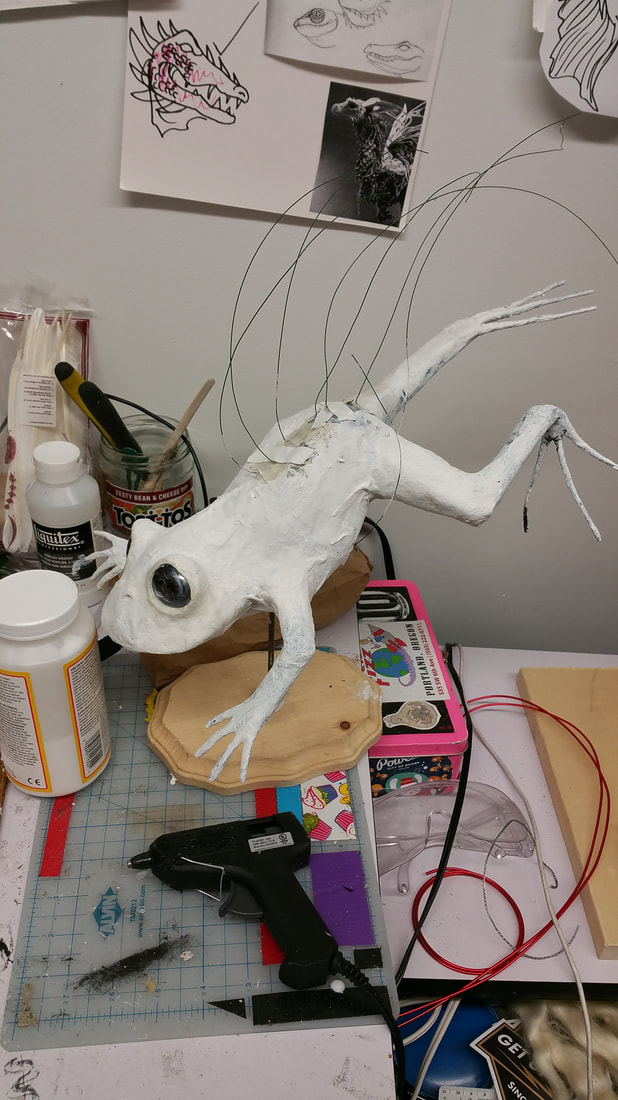
I start the big sculpture using recycled materials (cereal boxes, newspaper, wrapping paper, paper towel rolls...) and tape.
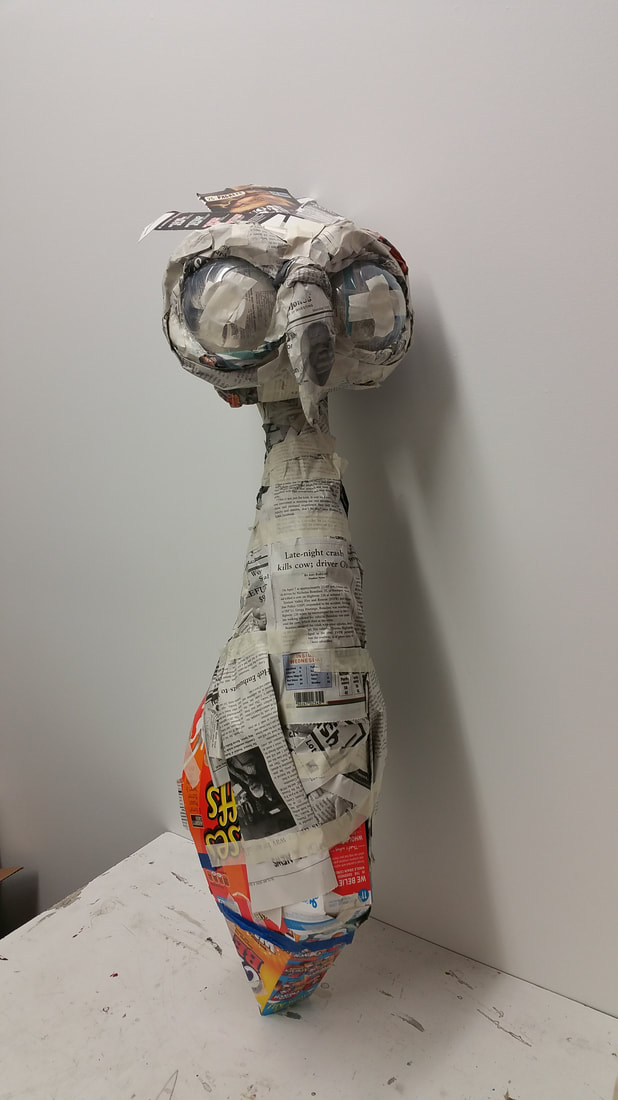
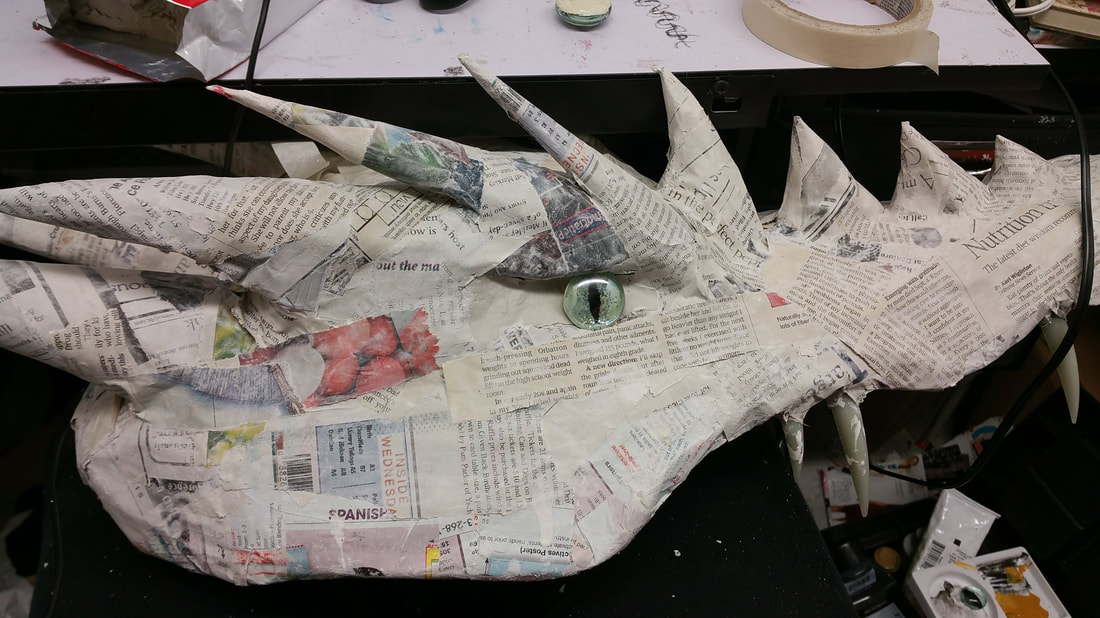
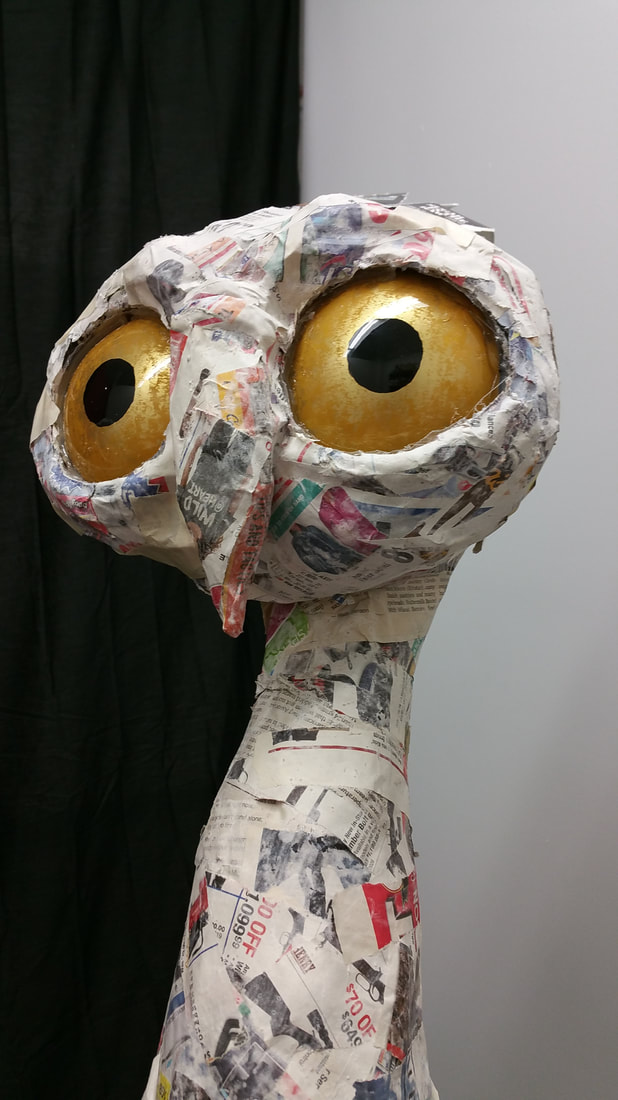
For my bird piece, you can see I used Slurpee lids to form his eye sockets.
I also started this project right after Christmas, so I had a LOT of good wrapping paper to use.
For my bird piece, you can see I used Slurpee lids to form his eye sockets.
I also started this project right after Christmas, so I had a LOT of good wrapping paper to use.
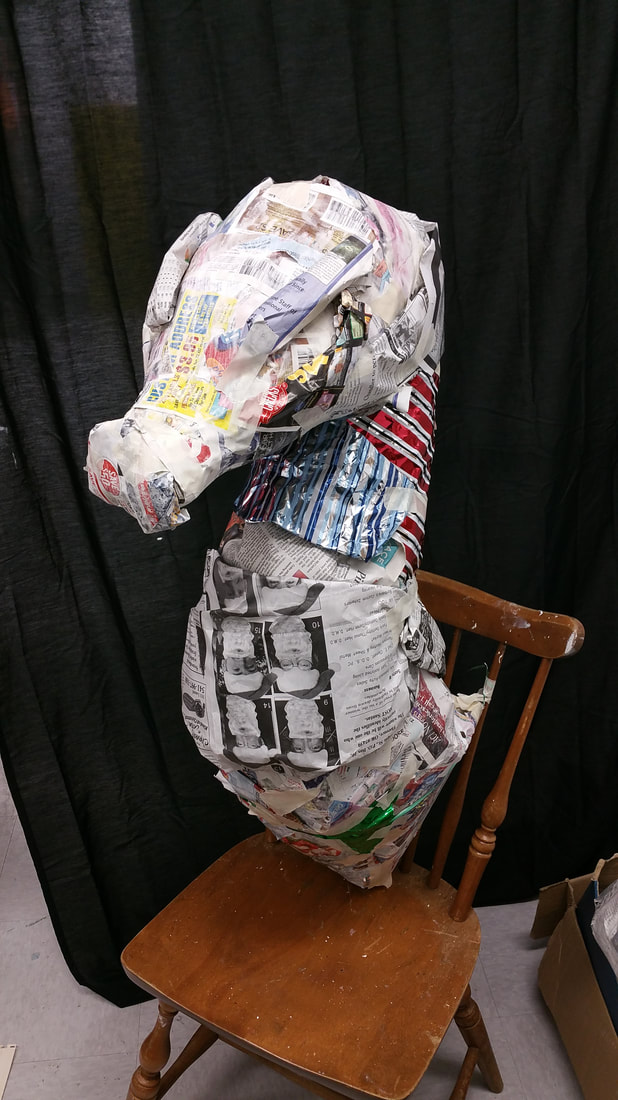
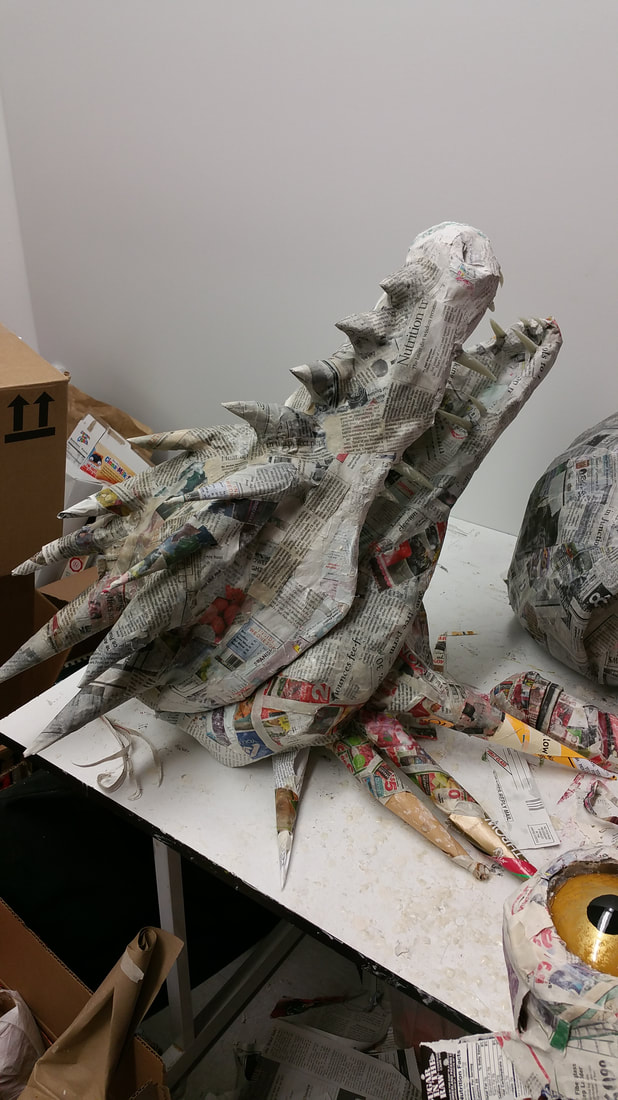
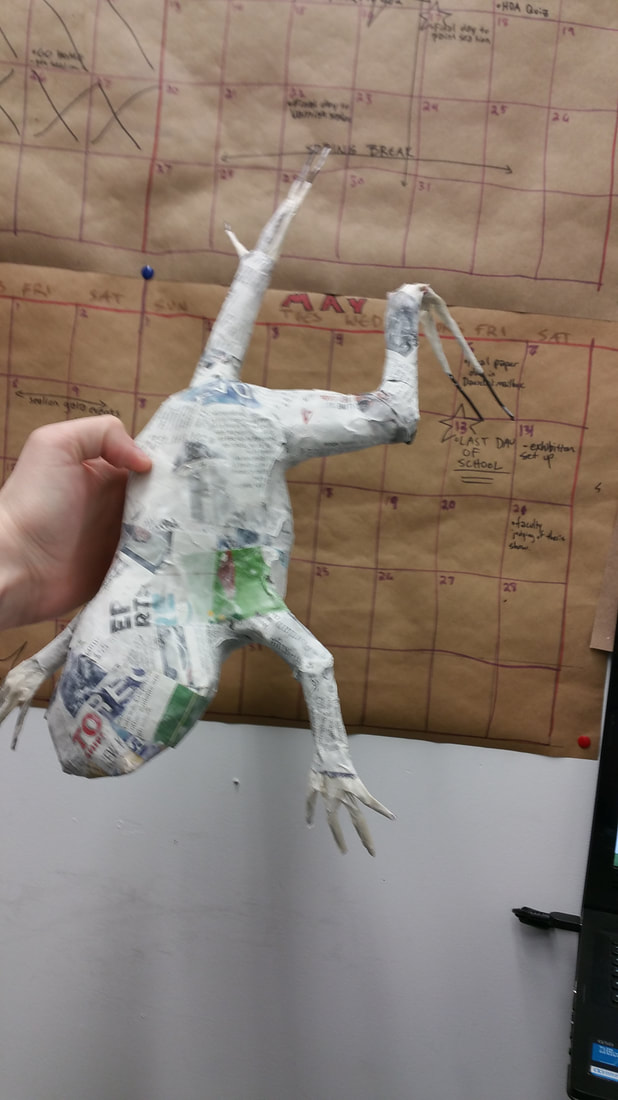
Once I'm at a good place with my paper and tape, I cover the piece in paper mache. I used a mixture of warm water, regular baking flour and salt. I usually add flour until the mixture feels like pancake batter. (This is very messy!)
I dip strips of torn newspaper in the paste and apply them to the sculpture until it's covered. Then wait until it's dry.
I dip strips of torn newspaper in the paste and apply them to the sculpture until it's covered. Then wait until it's dry.
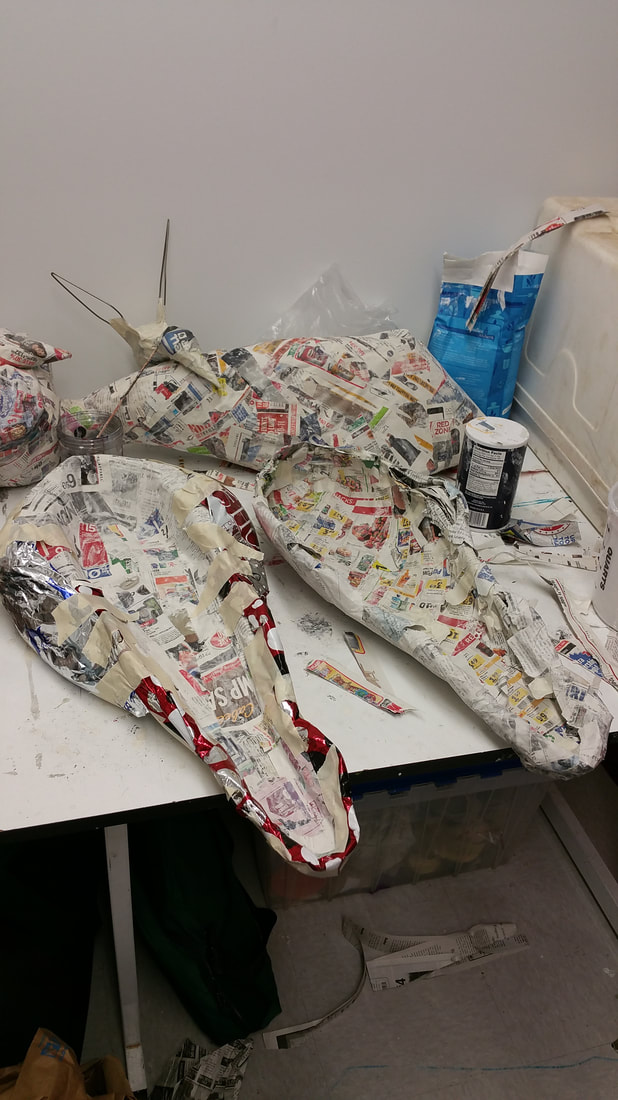
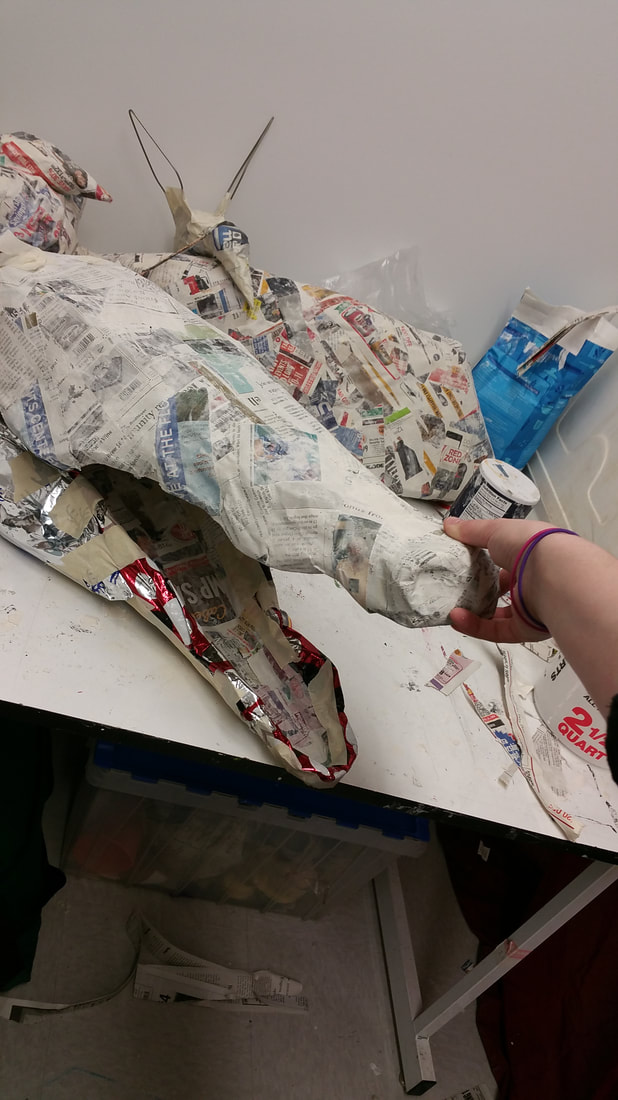
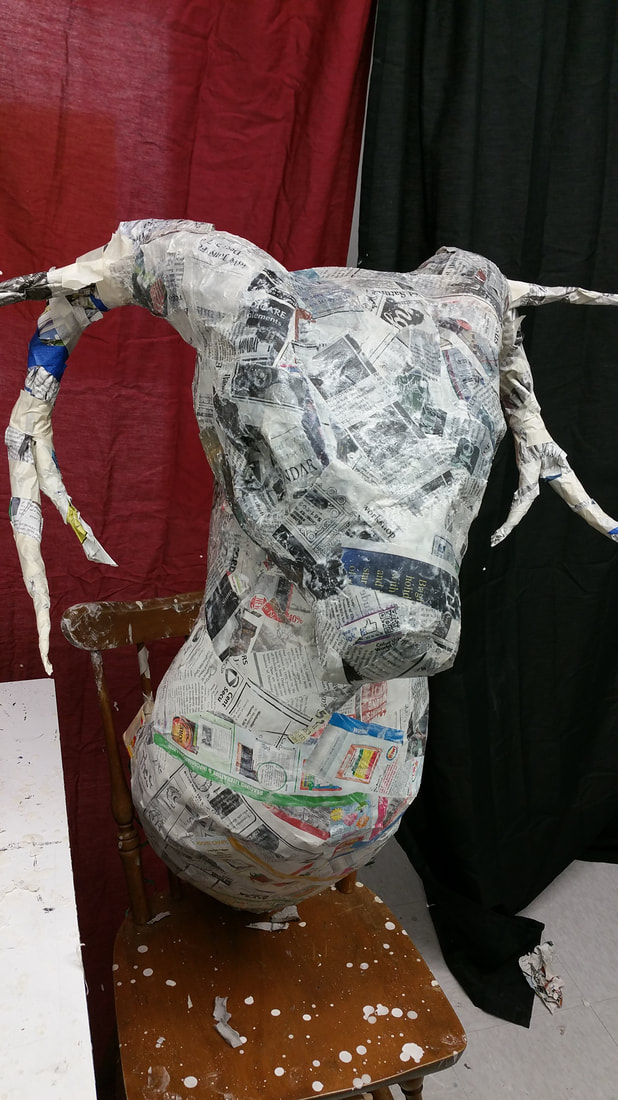

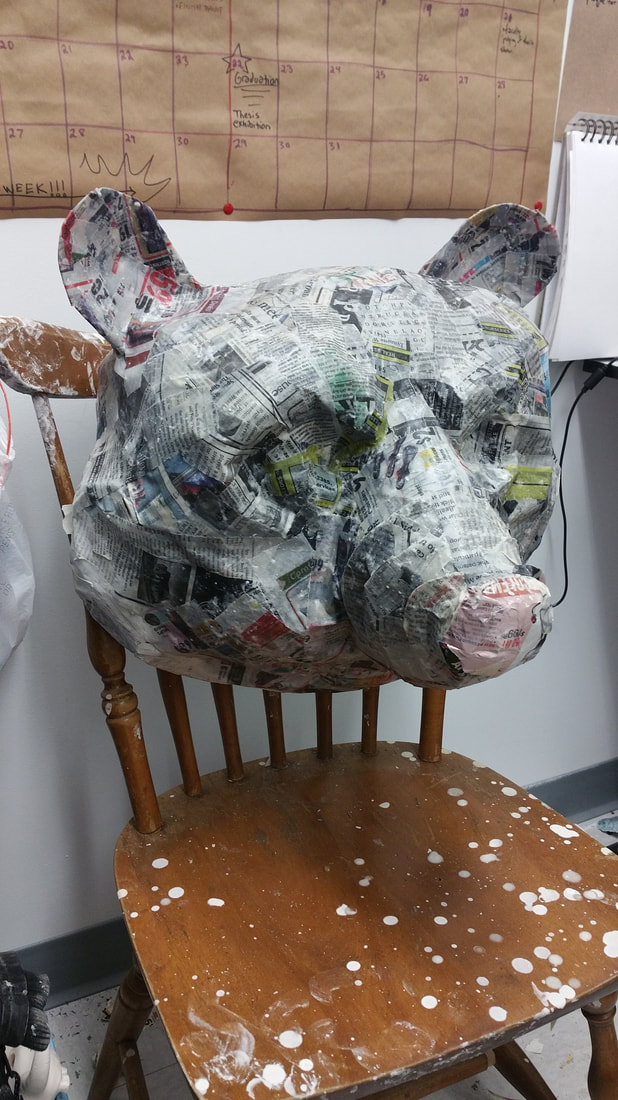
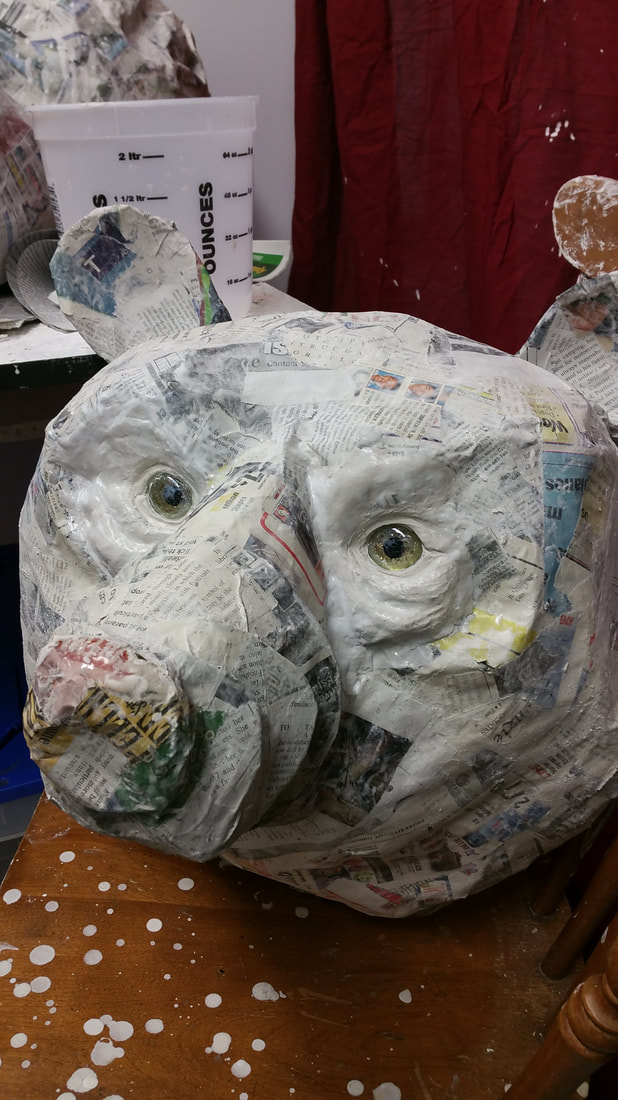
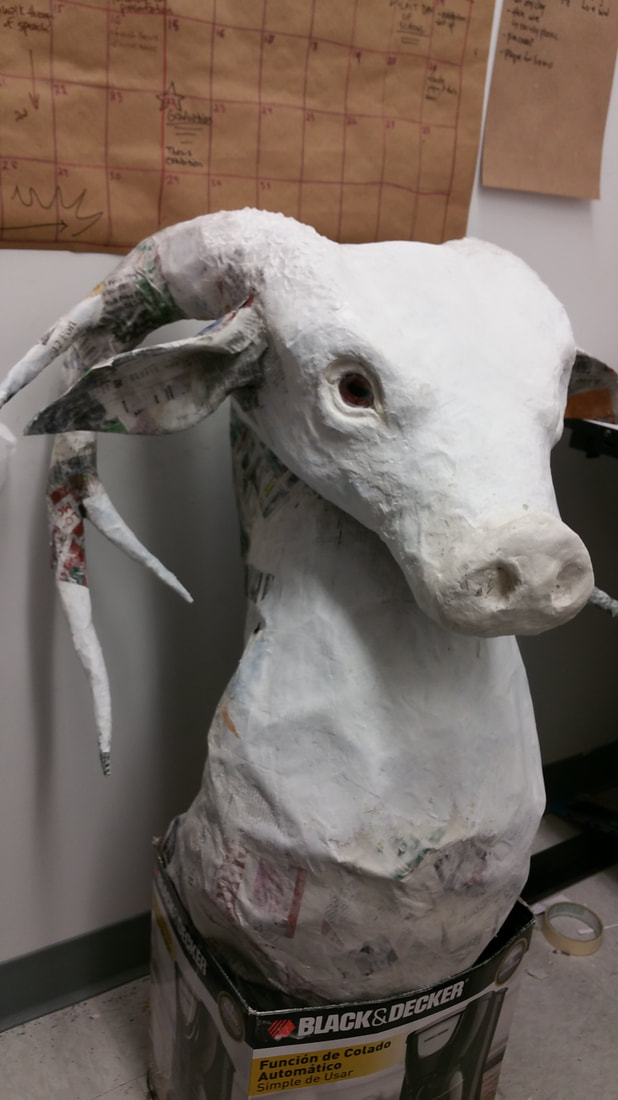
I go back and forth with adding more tape and paper and applying paper mache until the sculpting part of the creature is as close to perfect it can get without all the details.
Once these are completely dry, I start to add the good details.
Once these are completely dry, I start to add the good details.
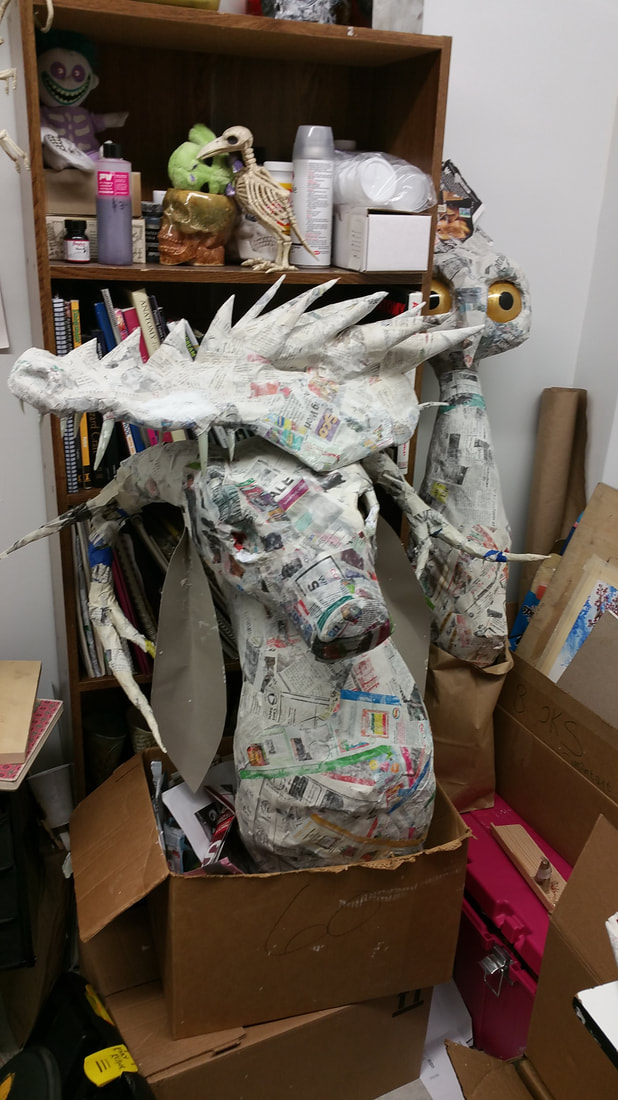
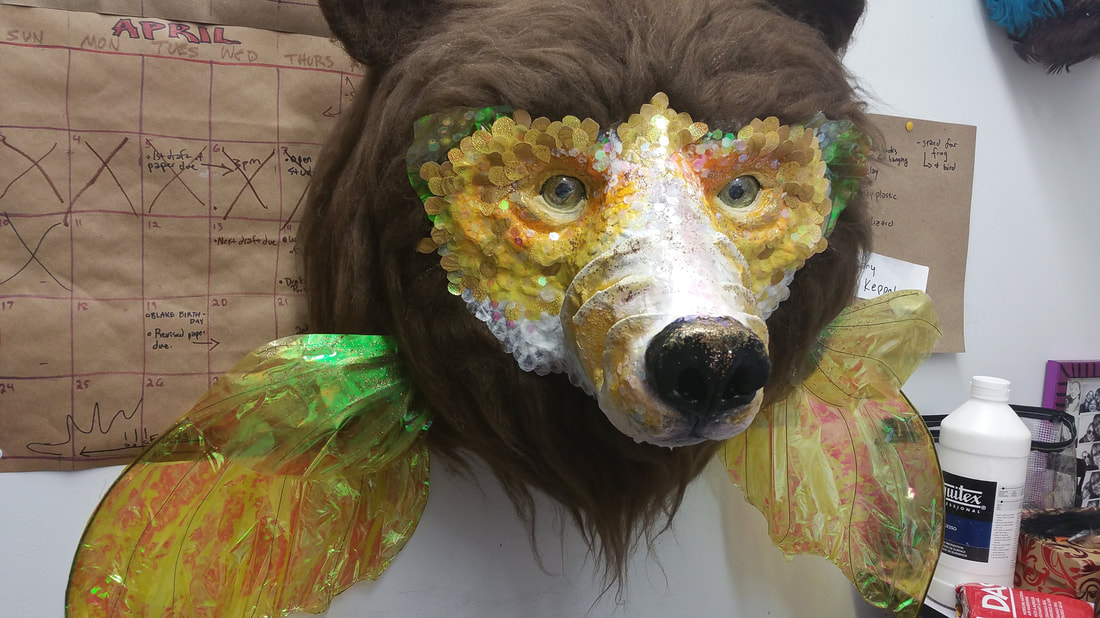
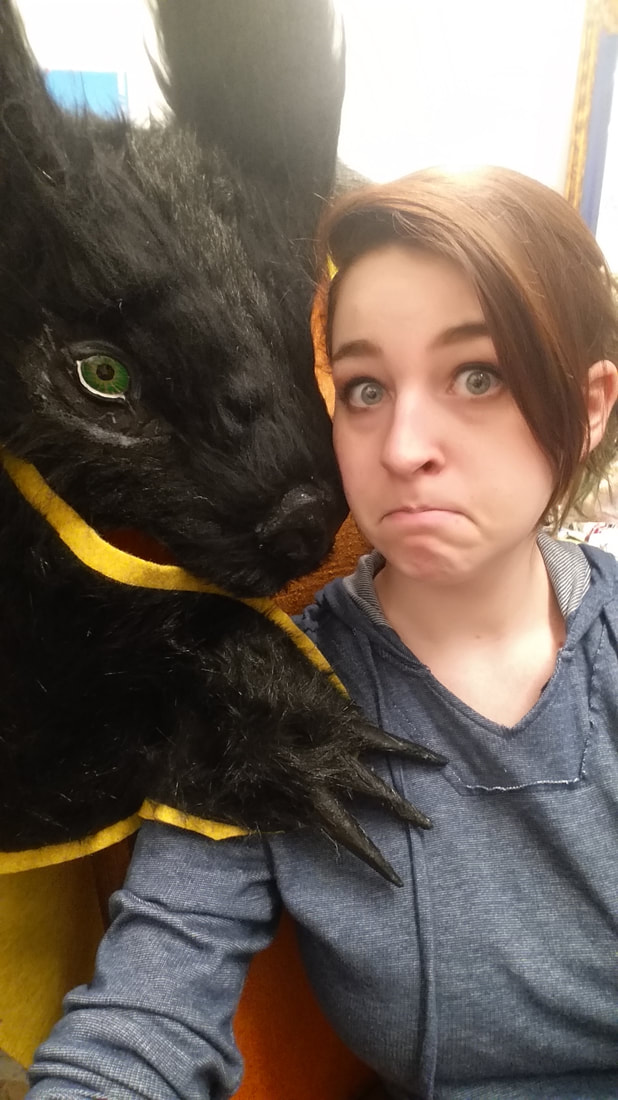
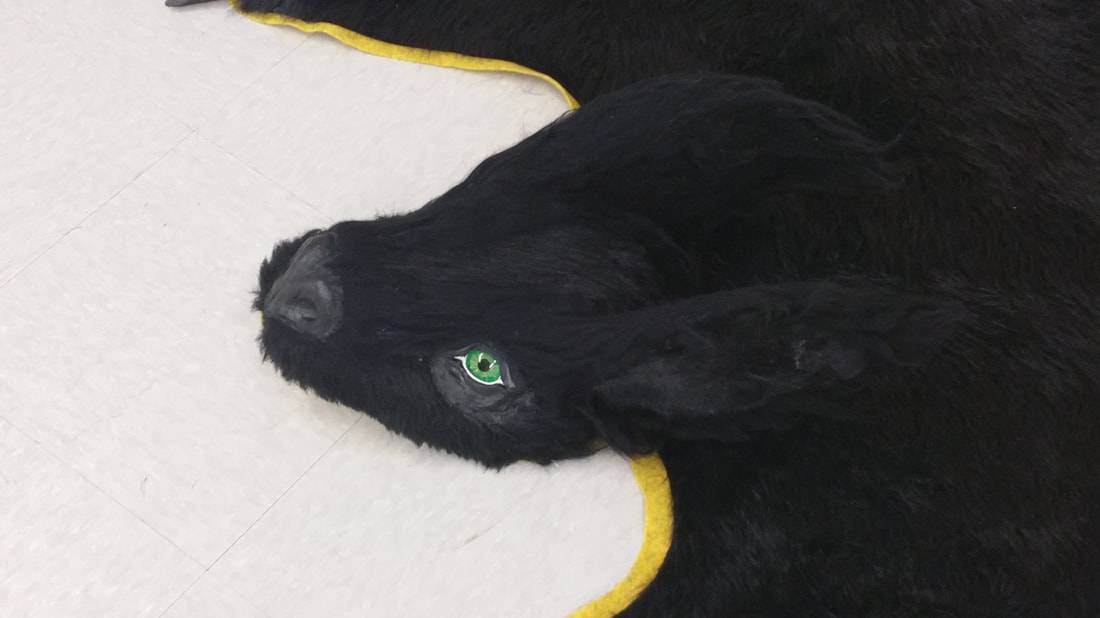
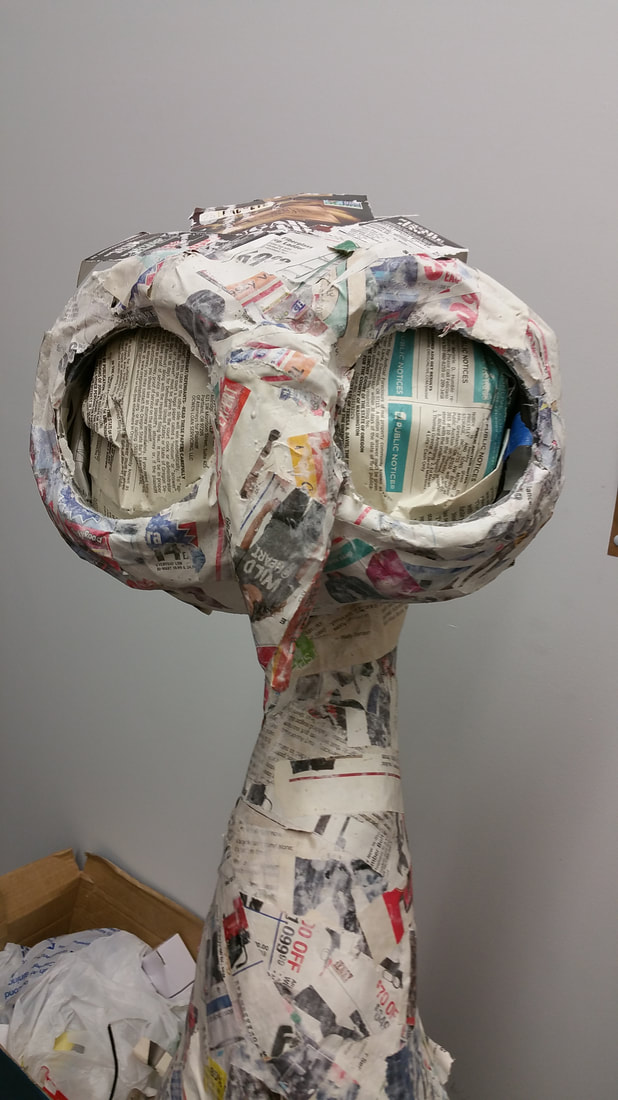
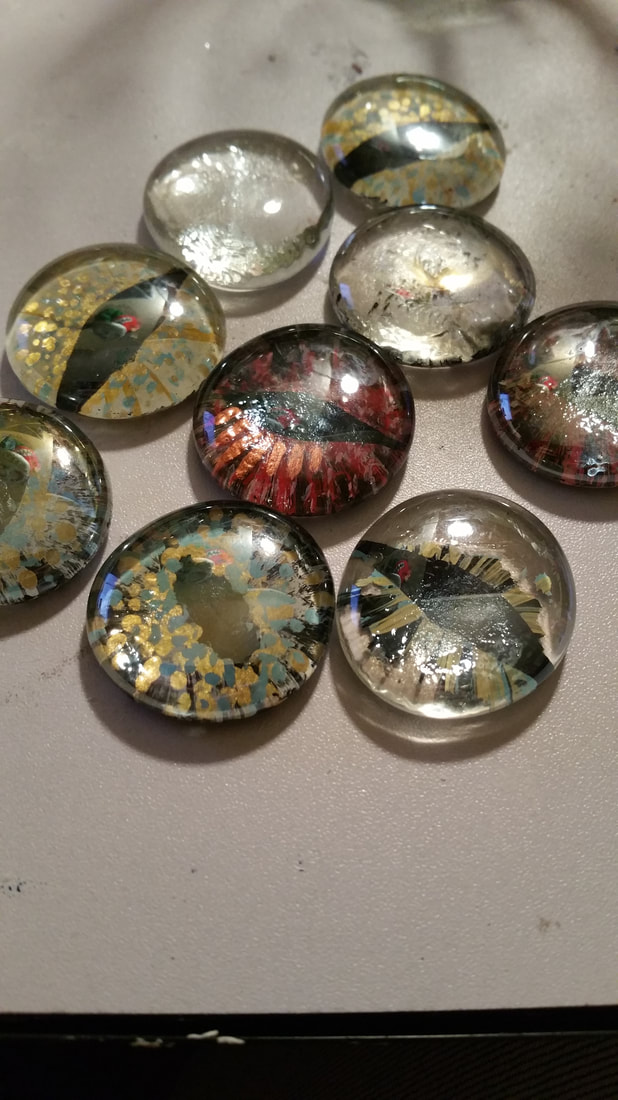
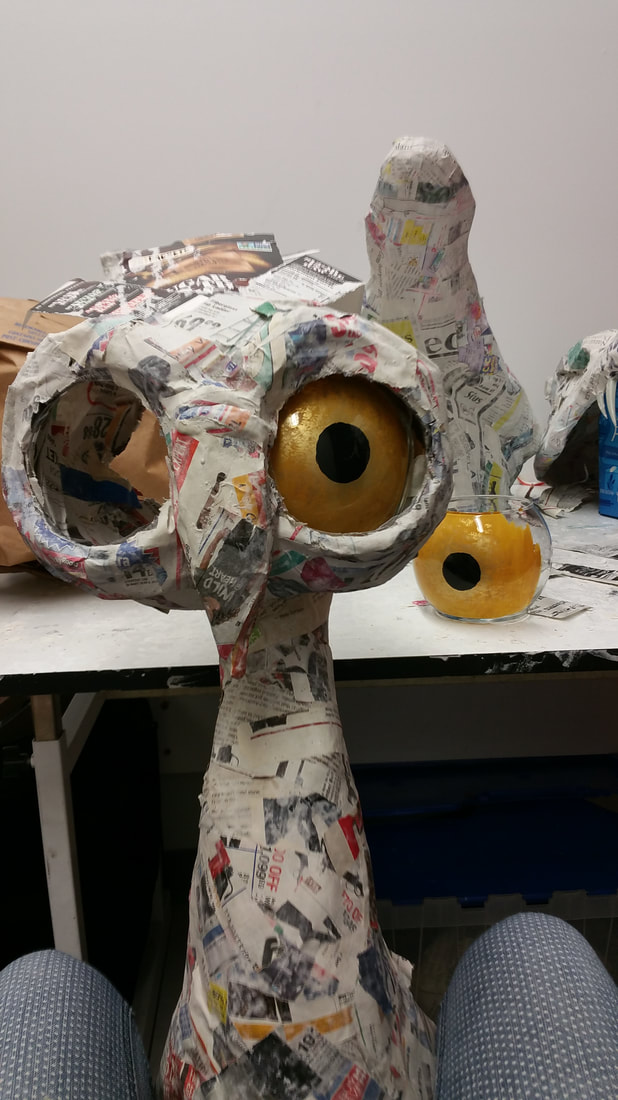
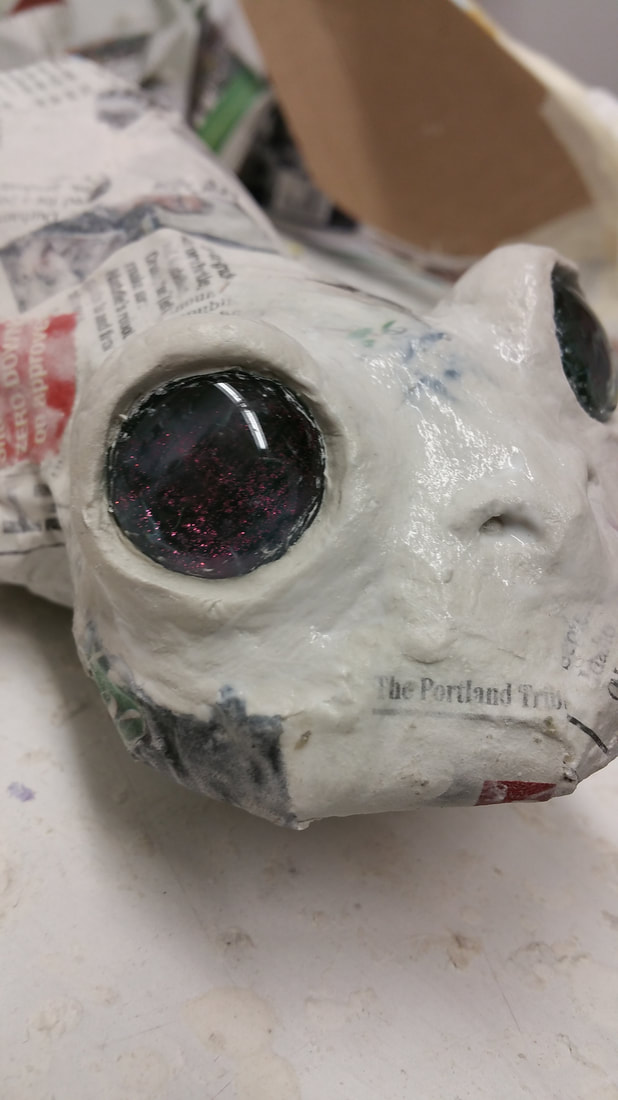
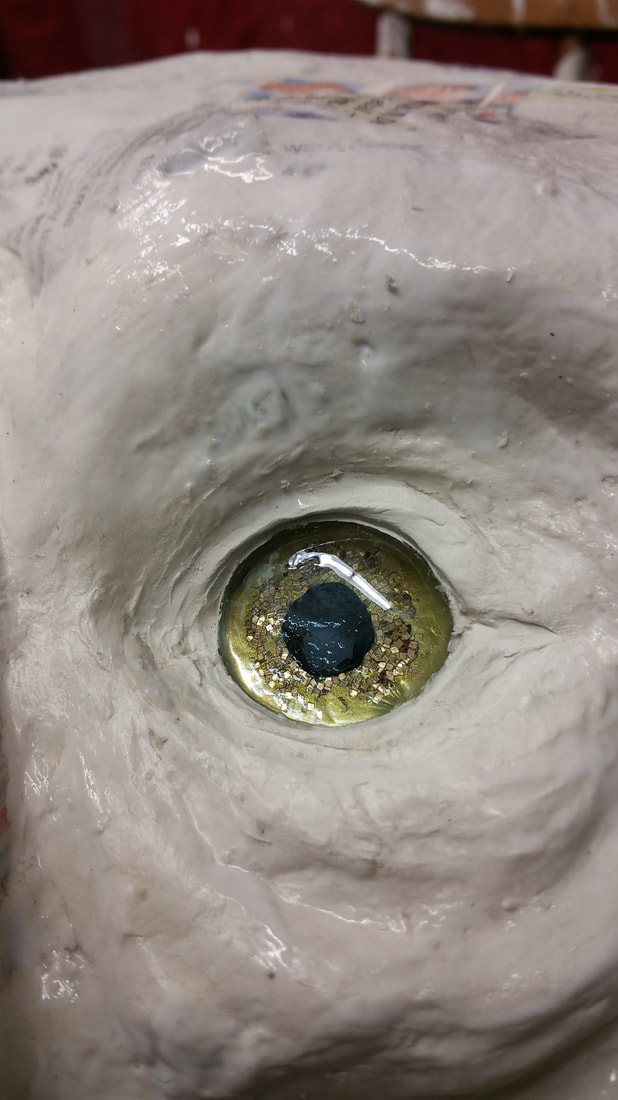
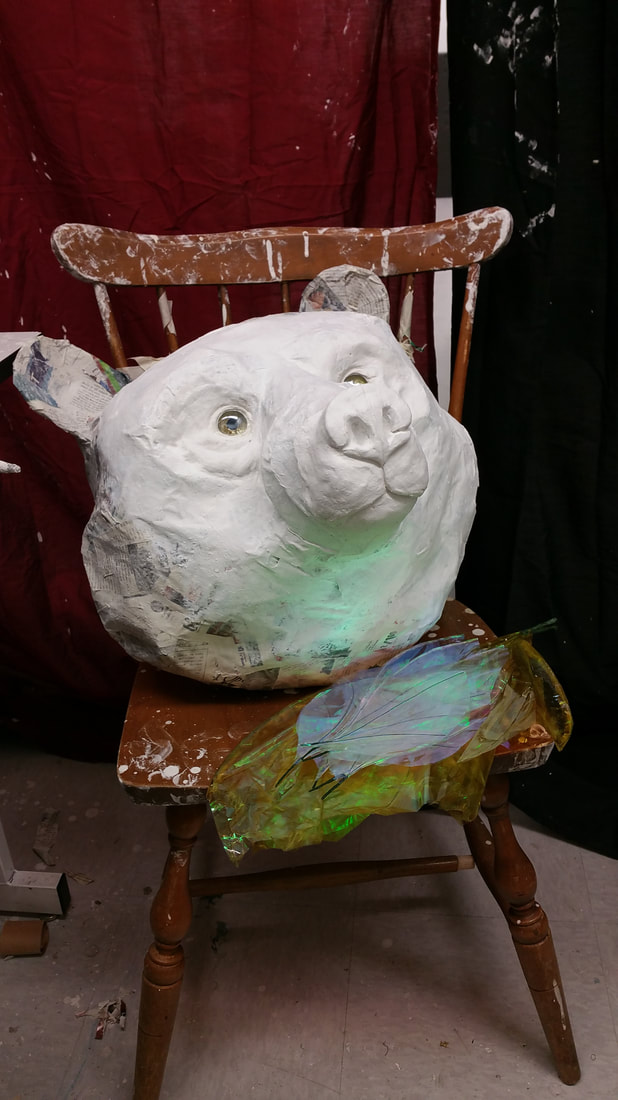
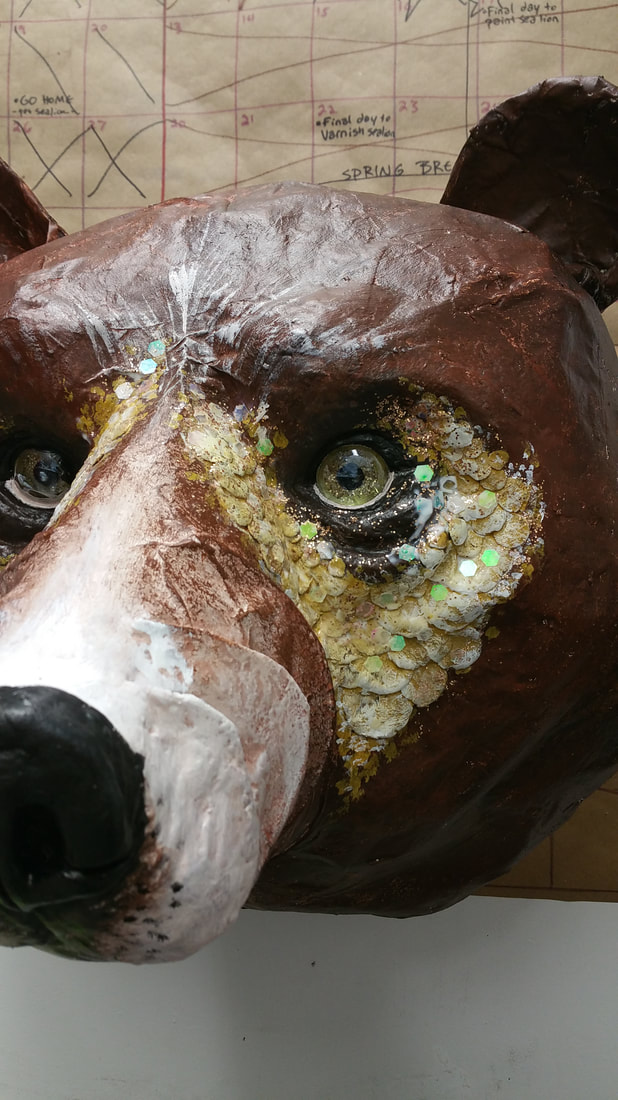
THE EYES!!! This is so important! The eyes are the best part of the sculpture! They bring "life" to the creatures.
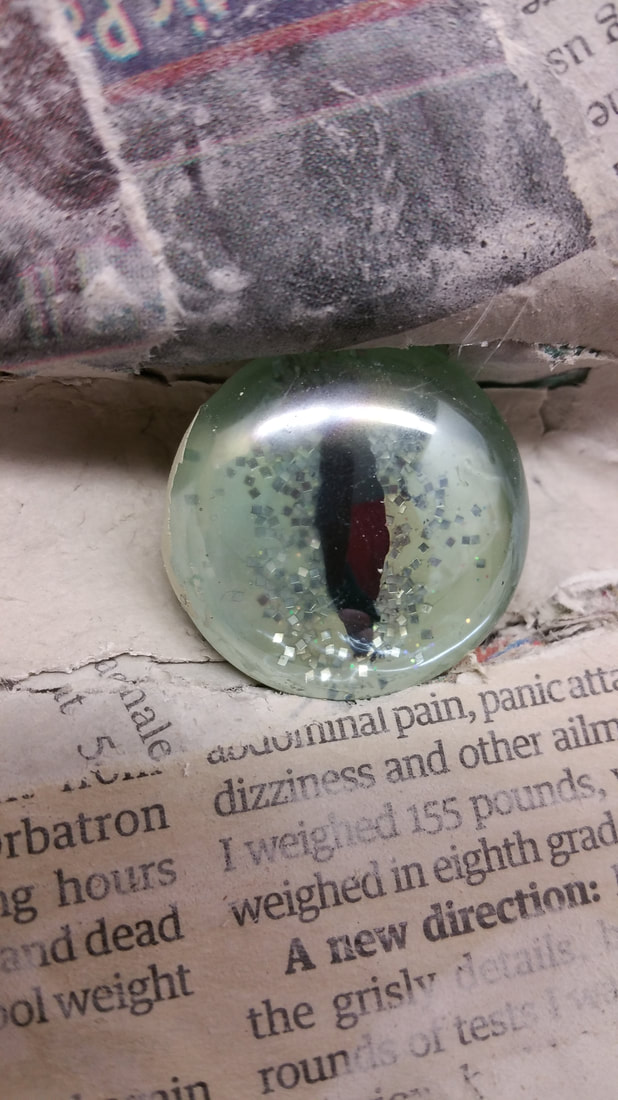
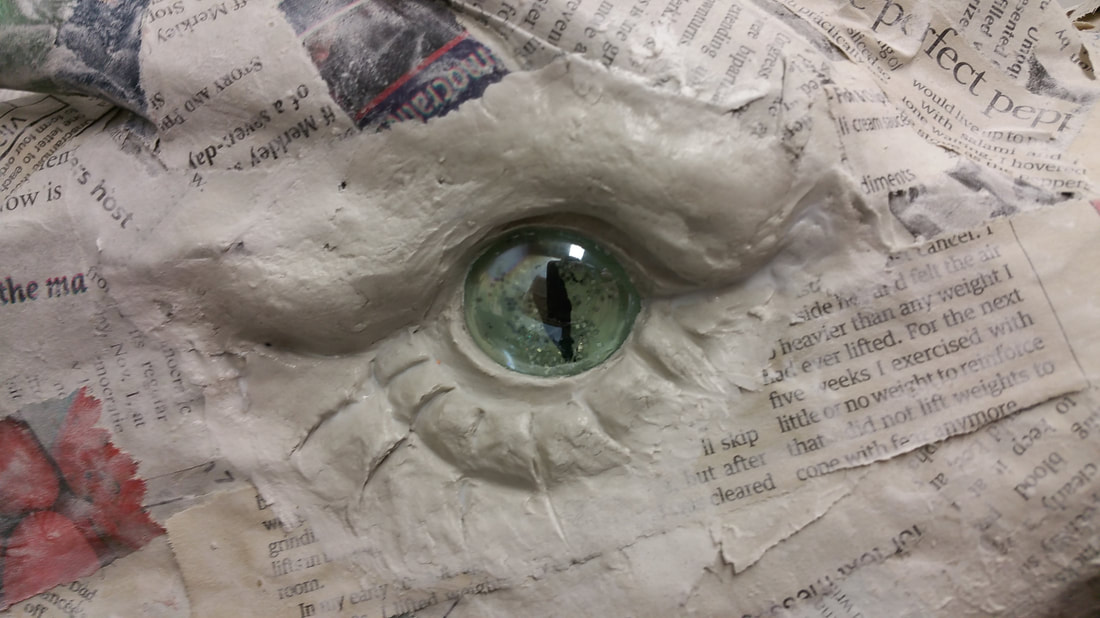
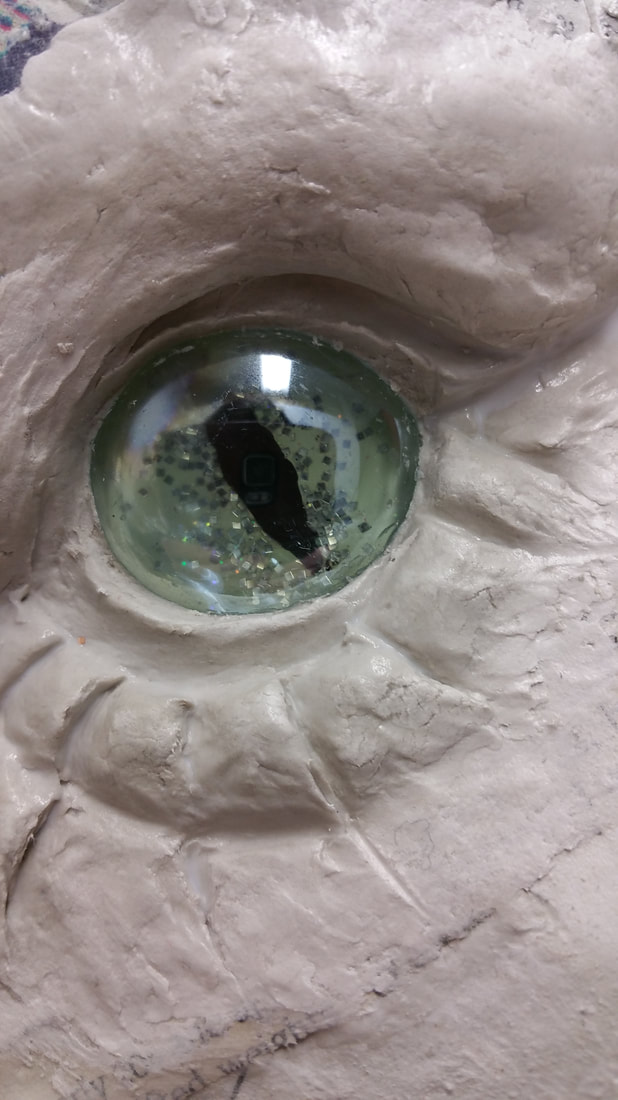
For my normal sized eyes, I use glass fish tank marbles, the big flat ones. I paint the bottoms with acrylic paint.
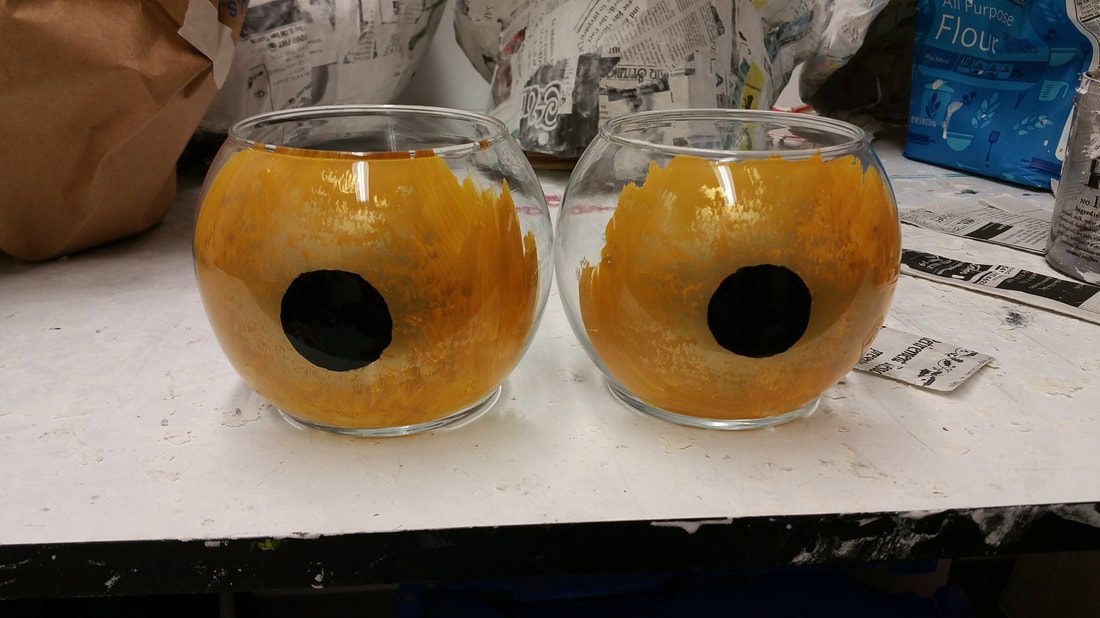
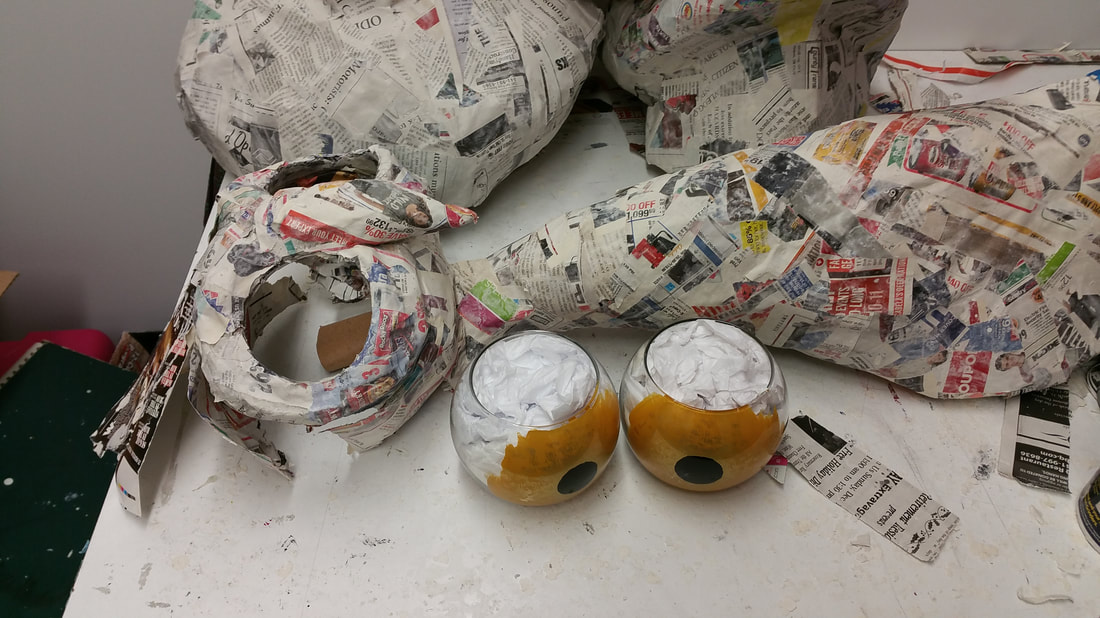
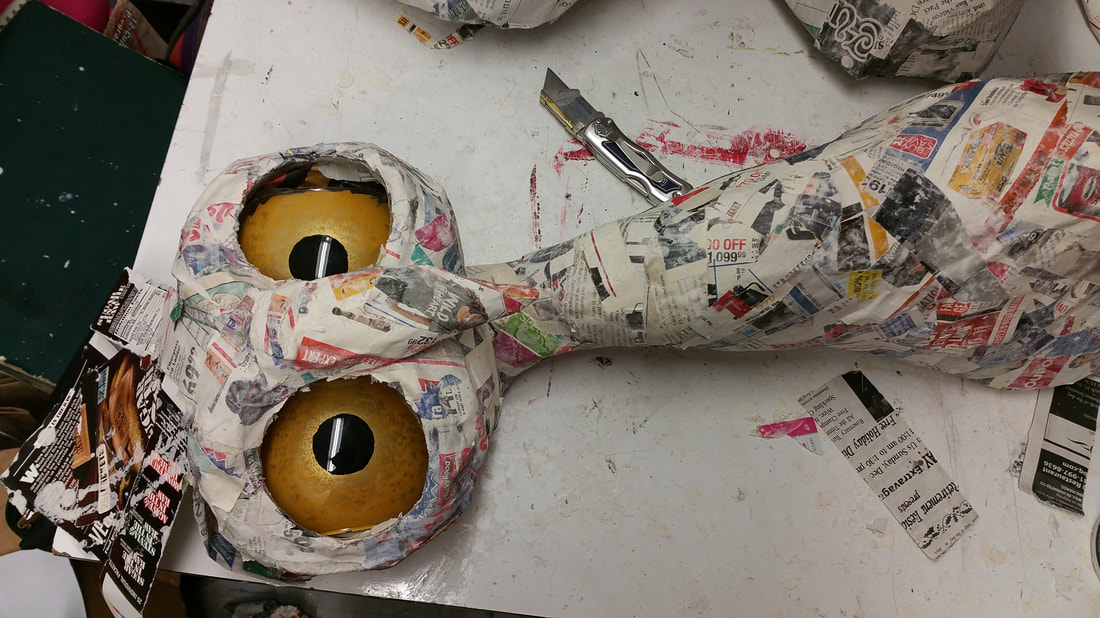
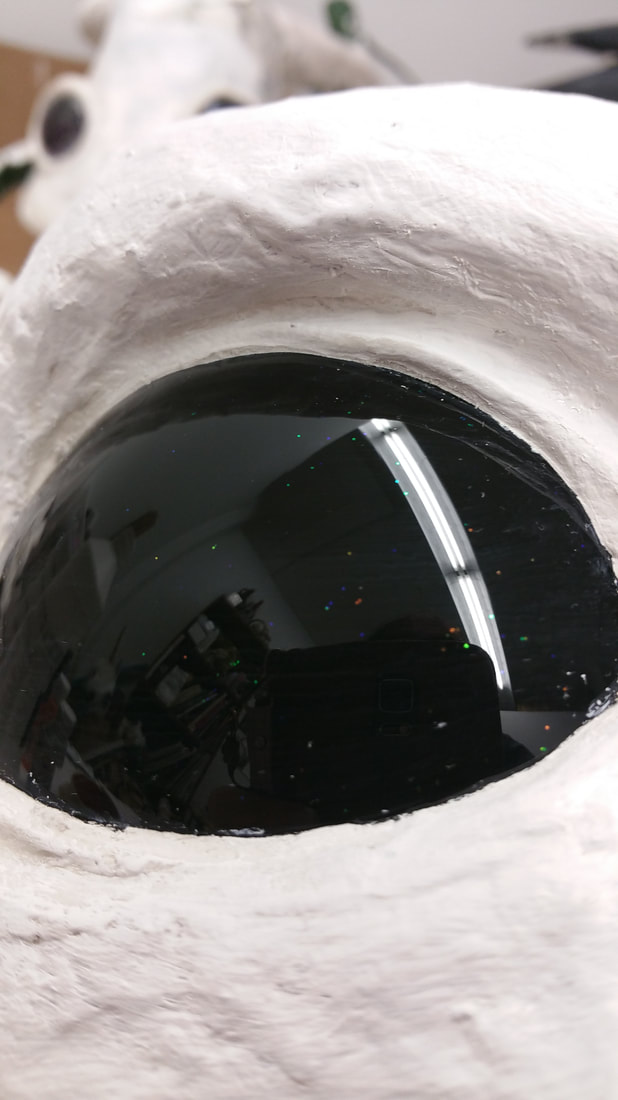
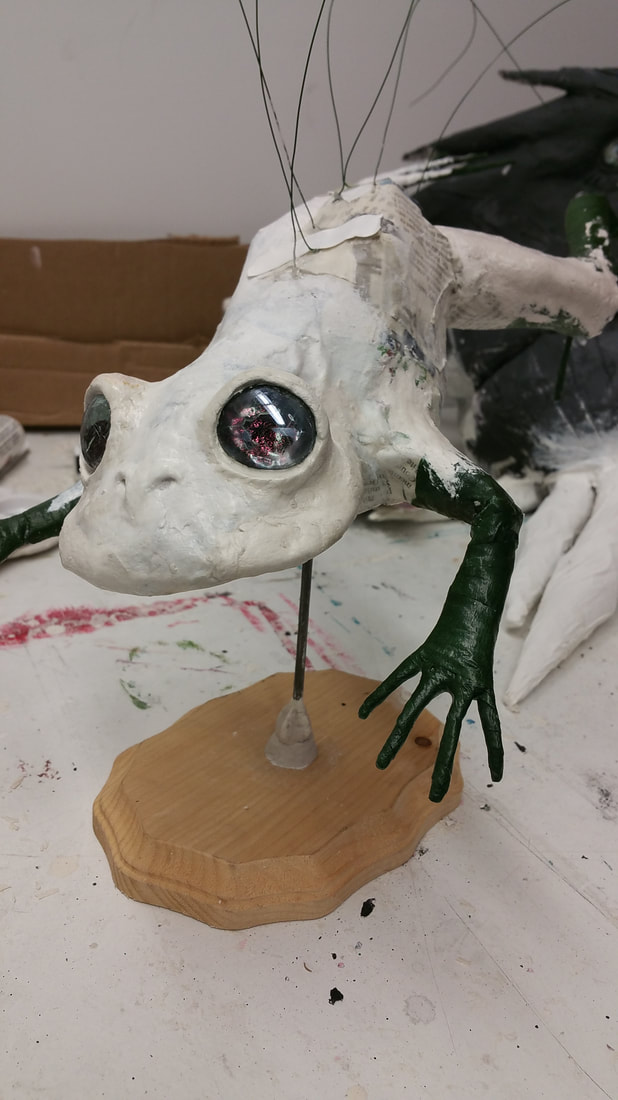
For sculptures with huge eyes, I discovered that painting the inside of tiny glass fish bowls make for some GREAT big eyes. I stuffed them with paper to make them less fragile and hot glued them into place. I also packed his head full of paper to keep the bowls secure.
For my normal sized eyes, I use glass fish tank marbles, the big flat ones. I paint the bottoms with acrylic paint.
For sculptures with huge eyes, I discovered that painting the inside of tiny glass fish bowls make for some GREAT big eyes. I stuffed them with paper to make them less fragile and hot glued them into place. I also packed his head full of paper to keep the bowls secure.
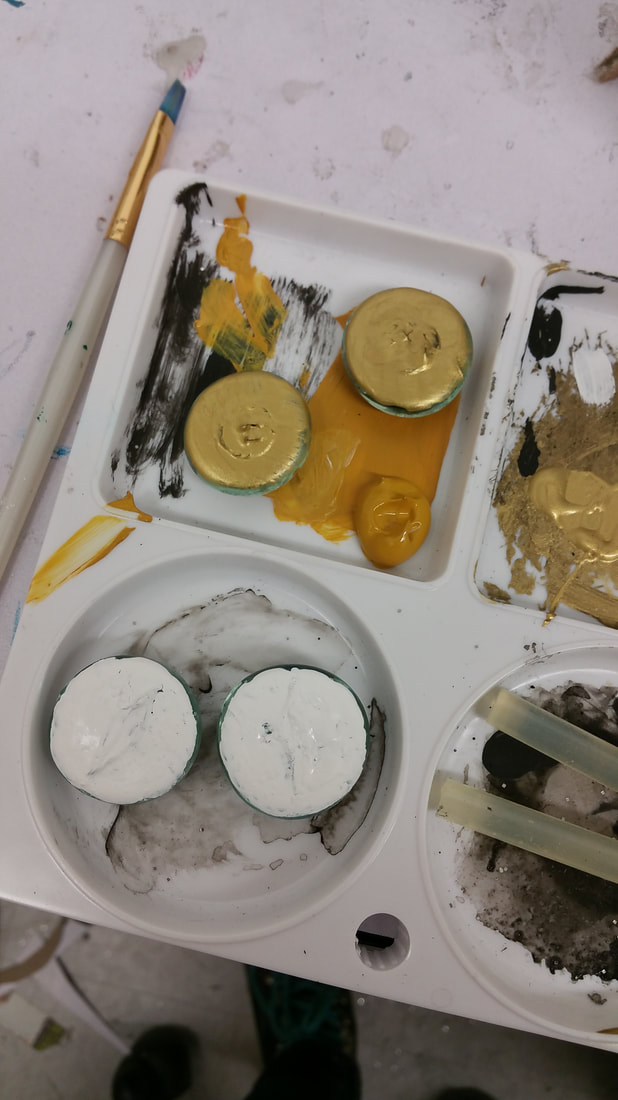
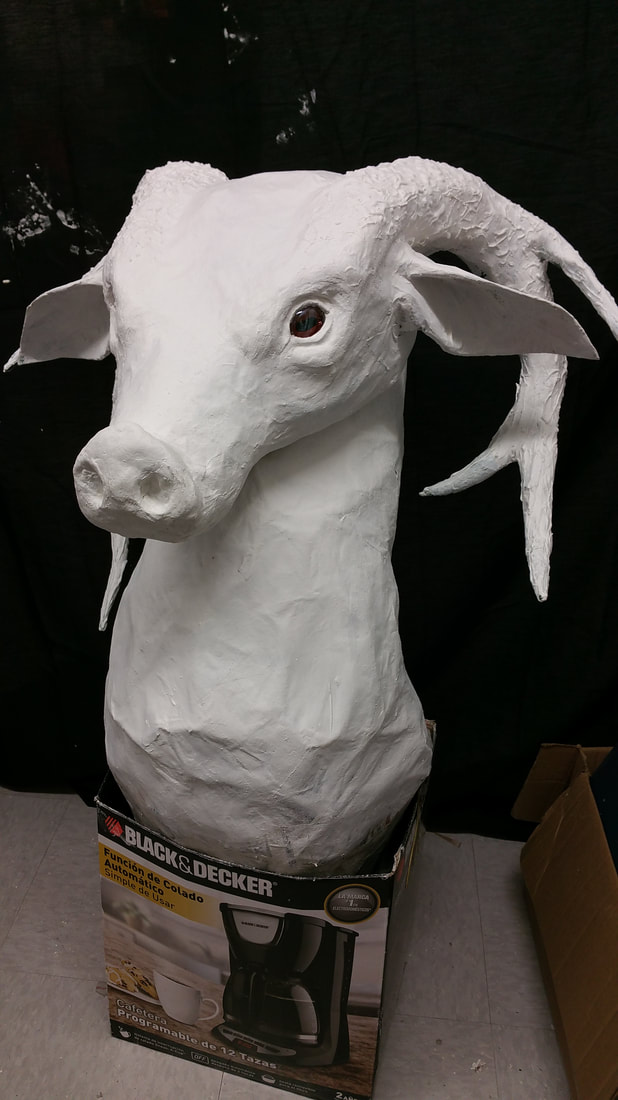
One the eye is in place, I coat the area around it with regular school glue and stick air-drying clay to it. I use tools to sculpt the details around their eye into the clay. Before the clay has time to really dry and start cracking, I paint Mod Podge over it to help it dry smooth. (I do not paint the Mod Podge over the glass eye itself.)
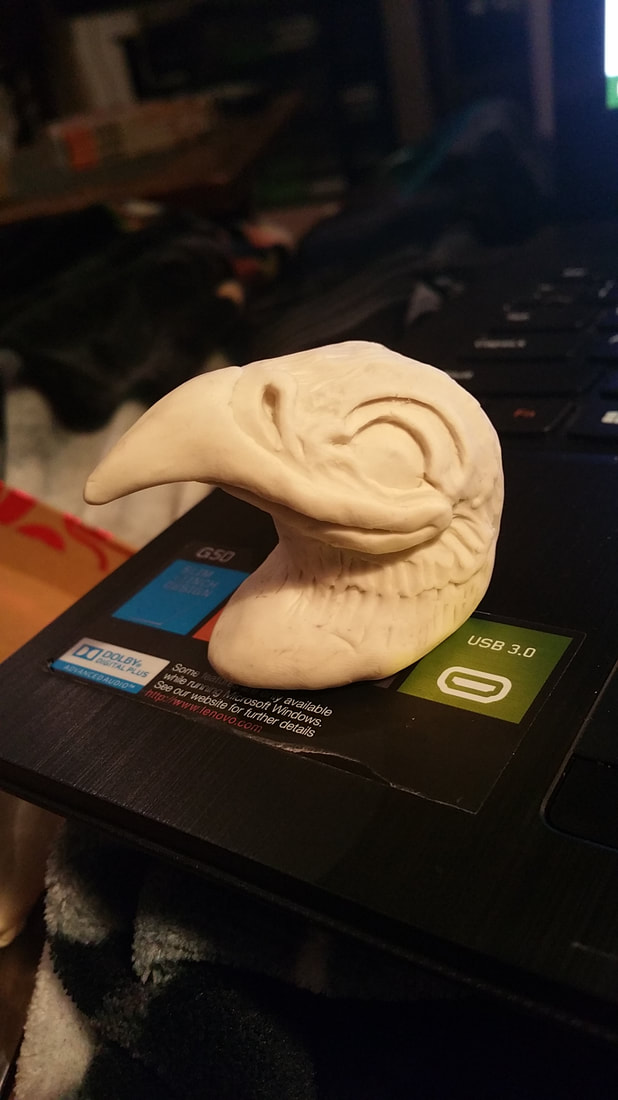
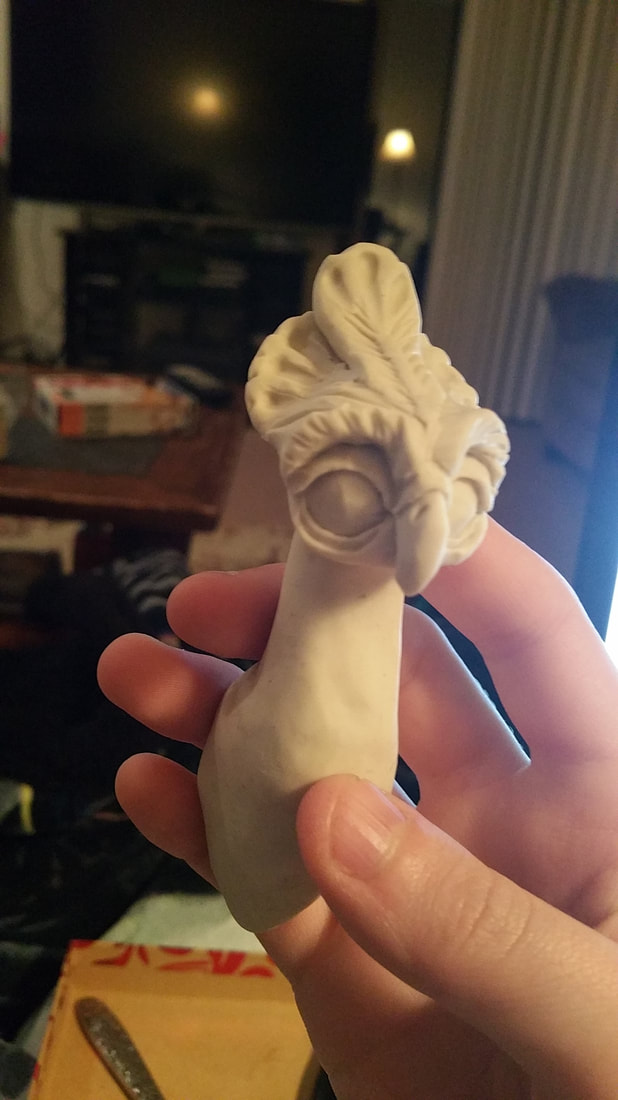
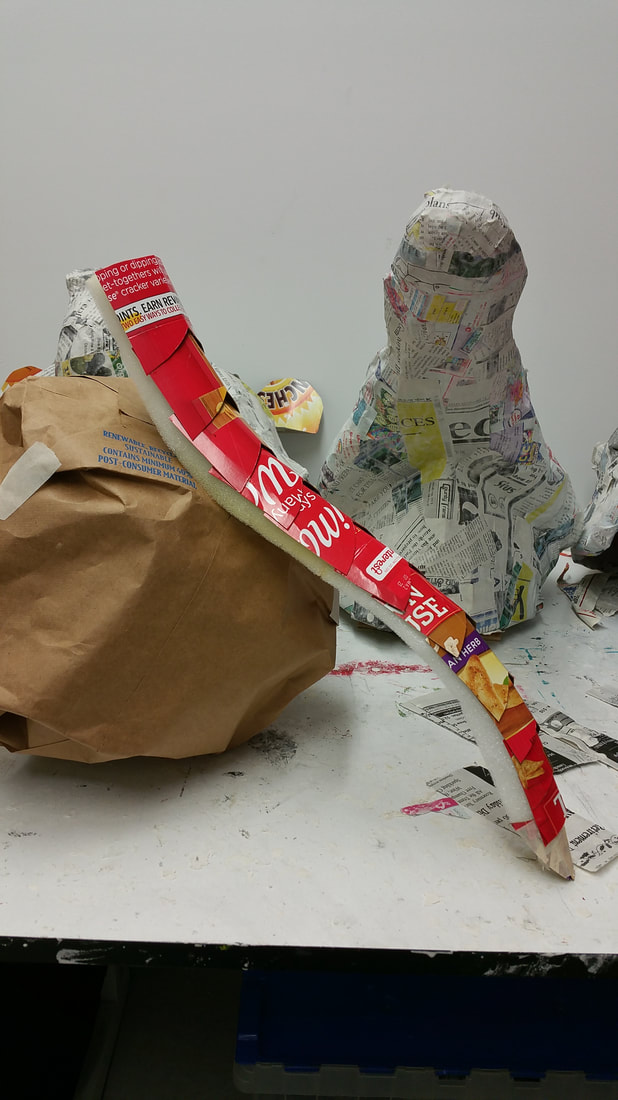
I use air dry clay for any other details on the sculpture that I can't get with just paper.
I use air dry clay for any other details on the sculpture that I can't get with just paper.

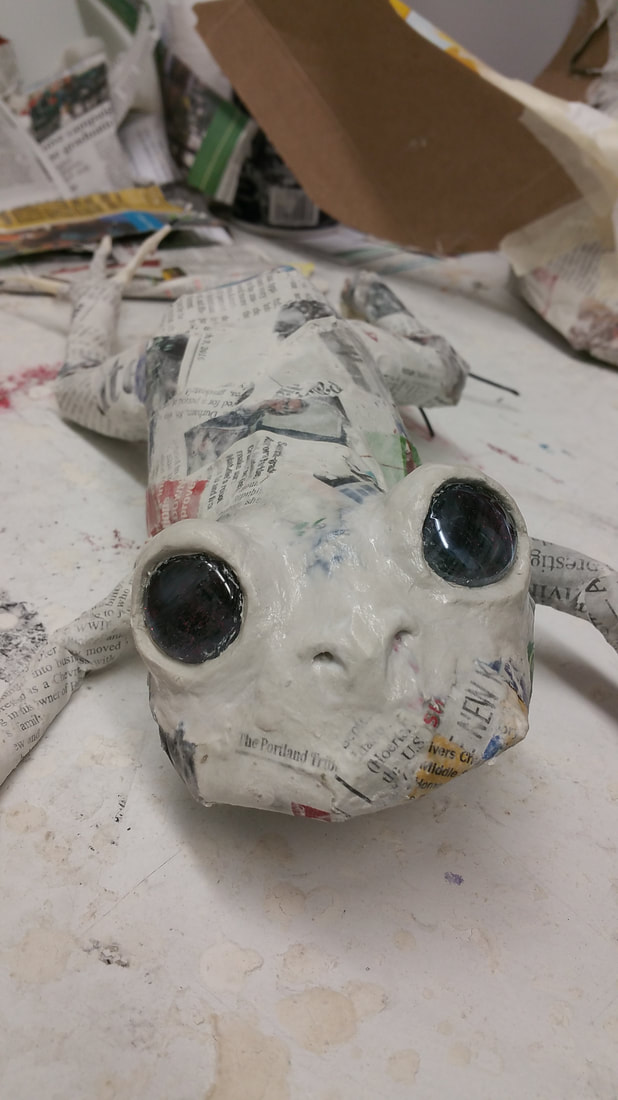

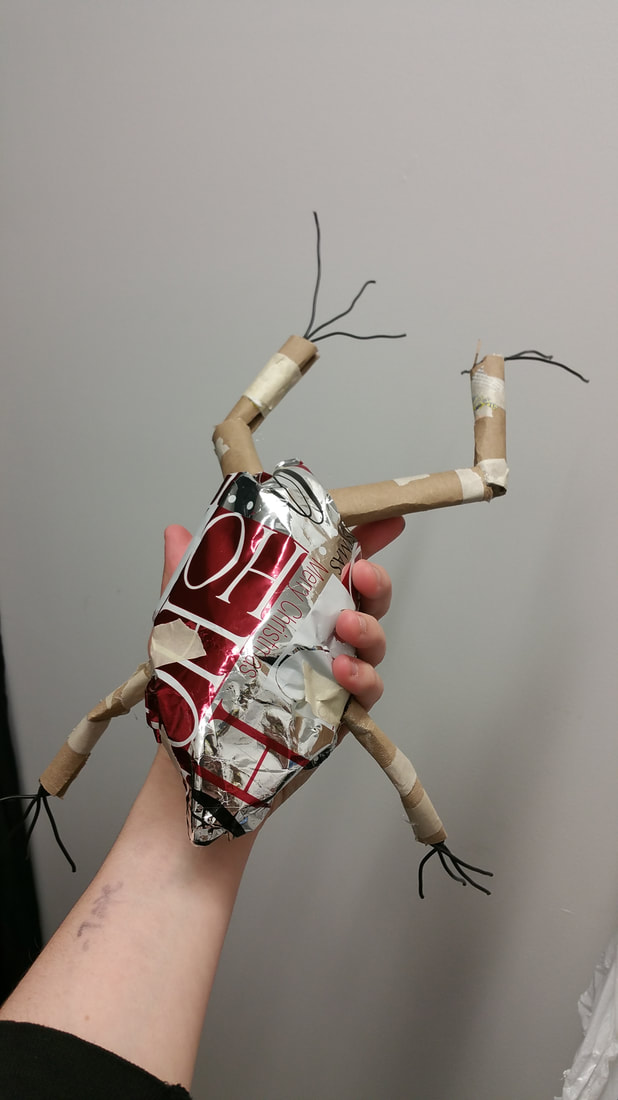
For the tiny fingers of my frog, I used green floral tape wrapped around wire to give them shape.
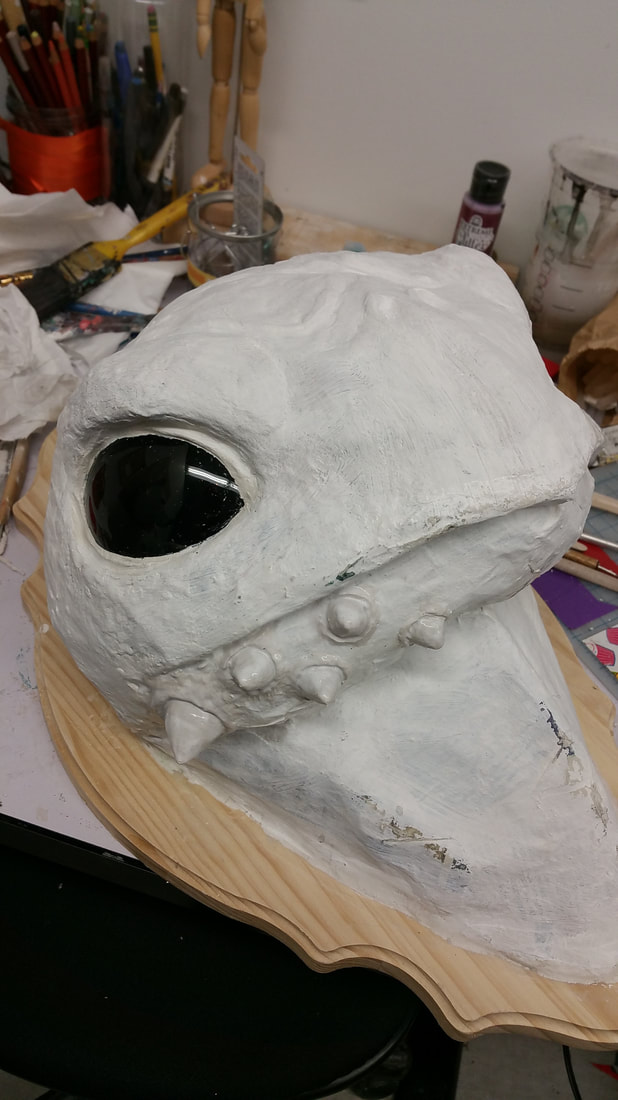
Once everything was detailed, I gave them a coat of gesso. This is to make them ready for paint, and also to cover the distracting colors they get from the newspaper and clay so I can see any mistakes I need to fix before I paint. They look so Pretty!
Once everything was detailed, I gave them a coat of gesso. This is to make them ready for paint, and also to cover the distracting colors they get from the newspaper and clay so I can see any mistakes I need to fix before I paint. They look so Pretty!

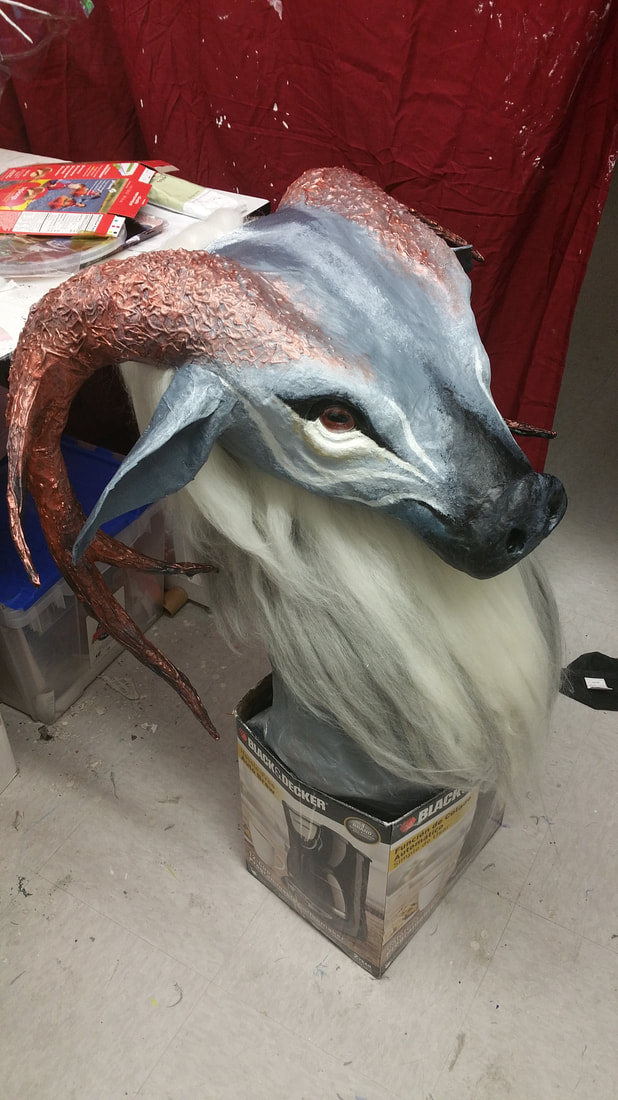
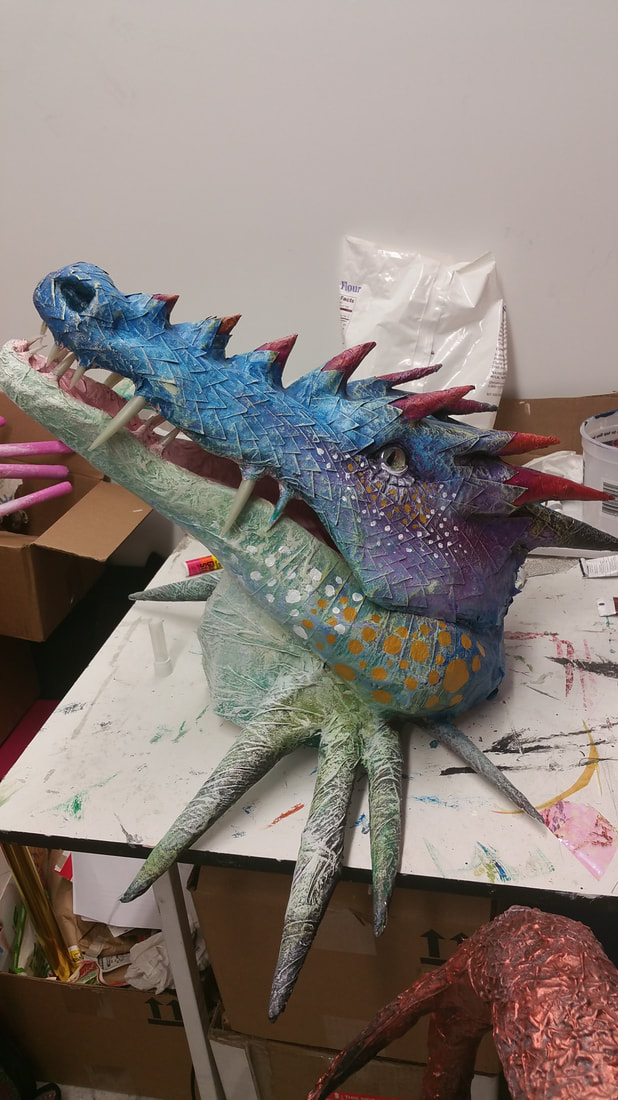
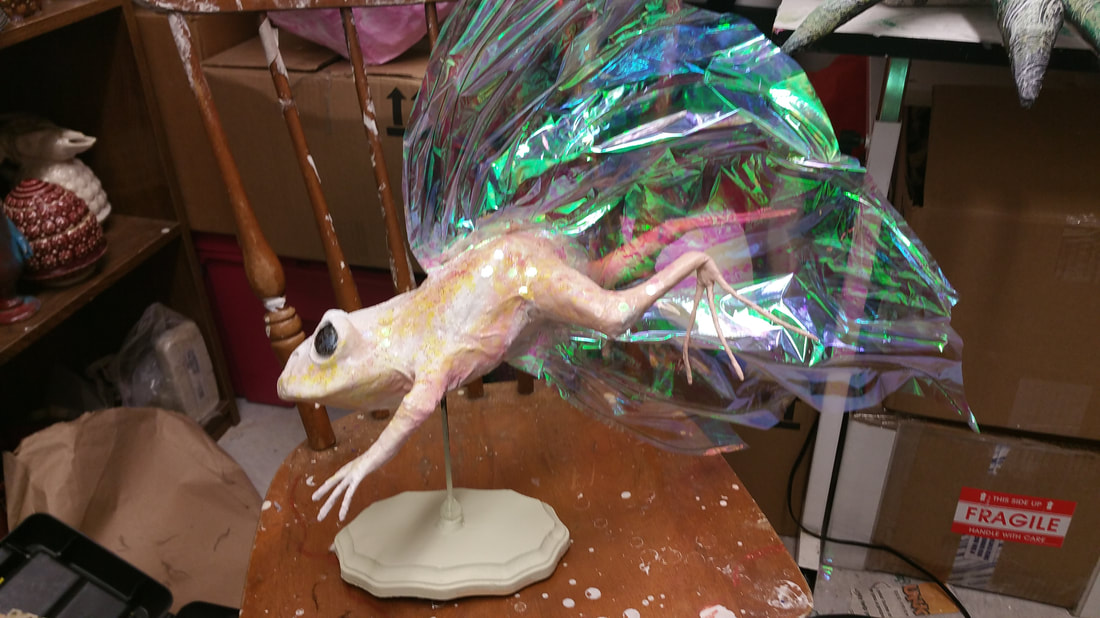
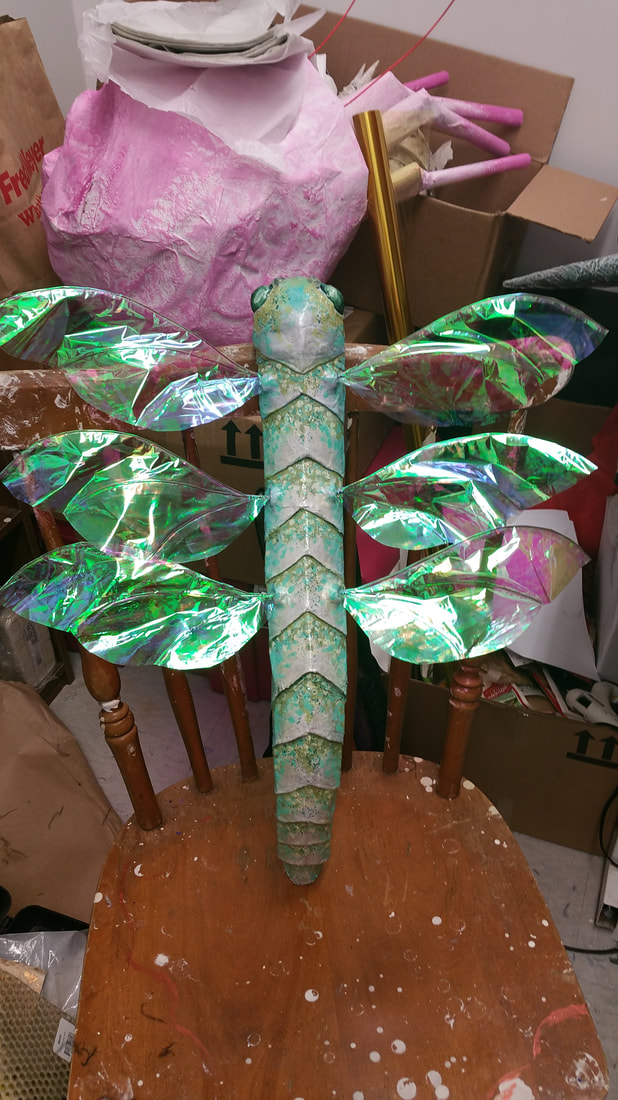
And then we paint and add bedazzle.
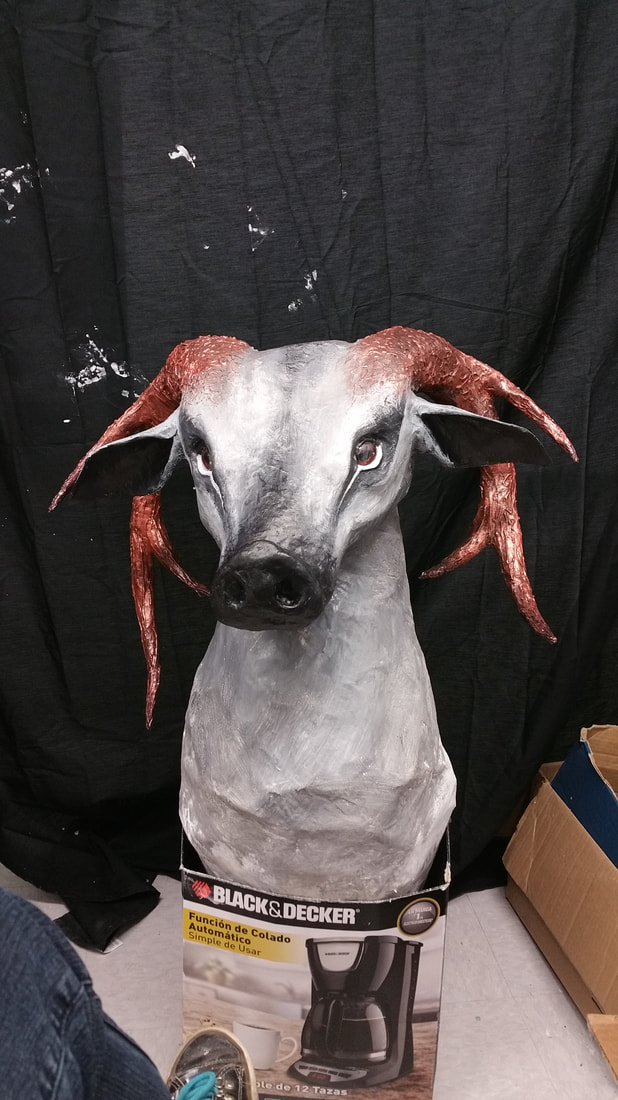
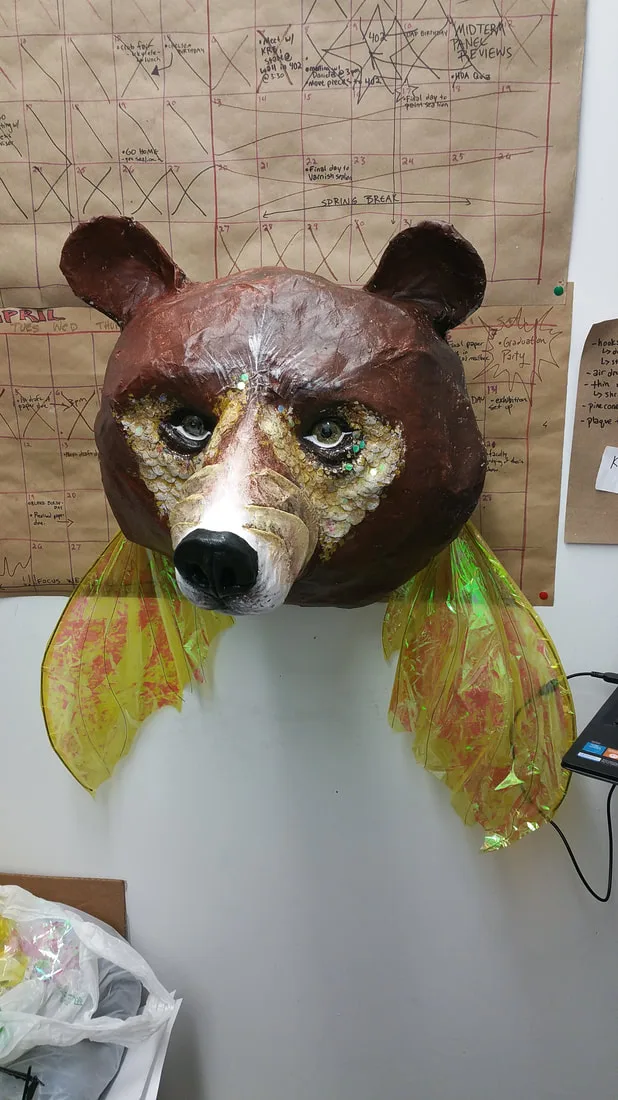
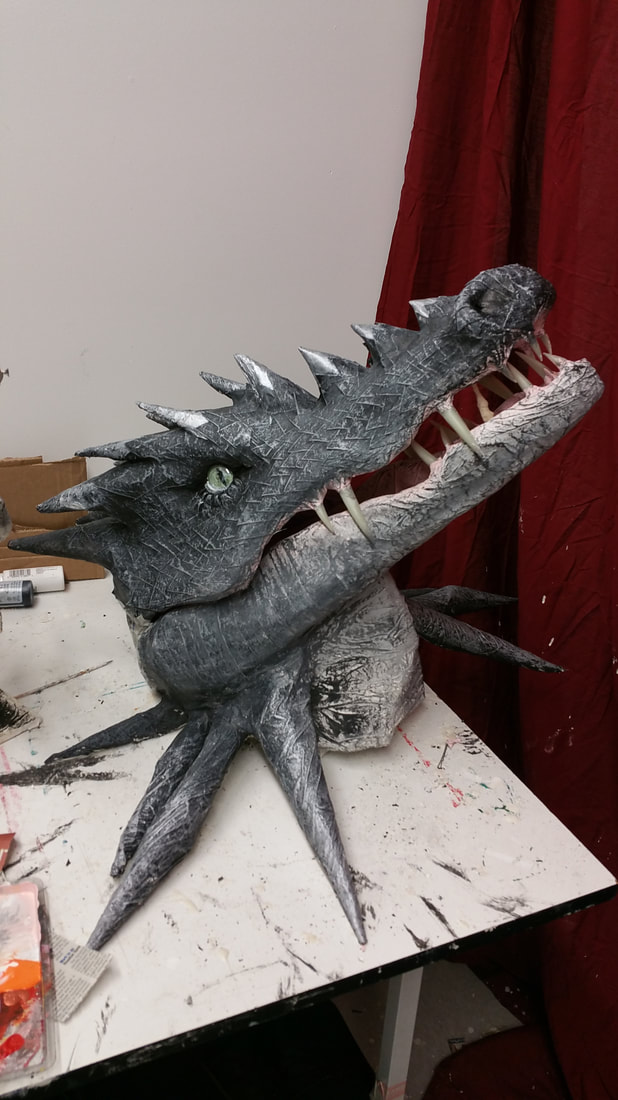

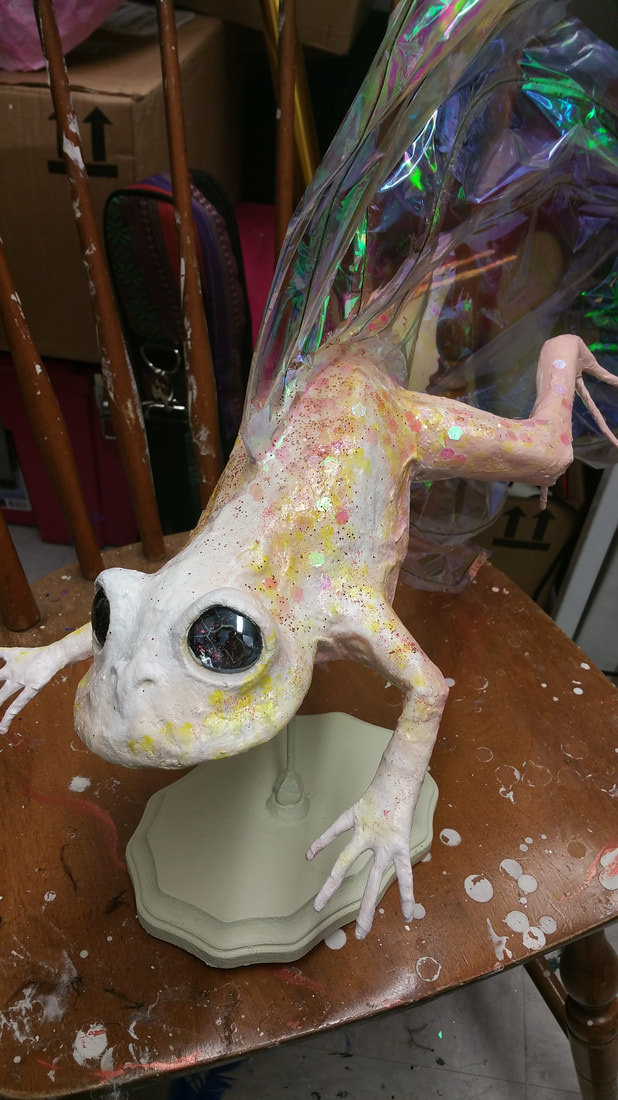
And more paint.. and more bedazzle...
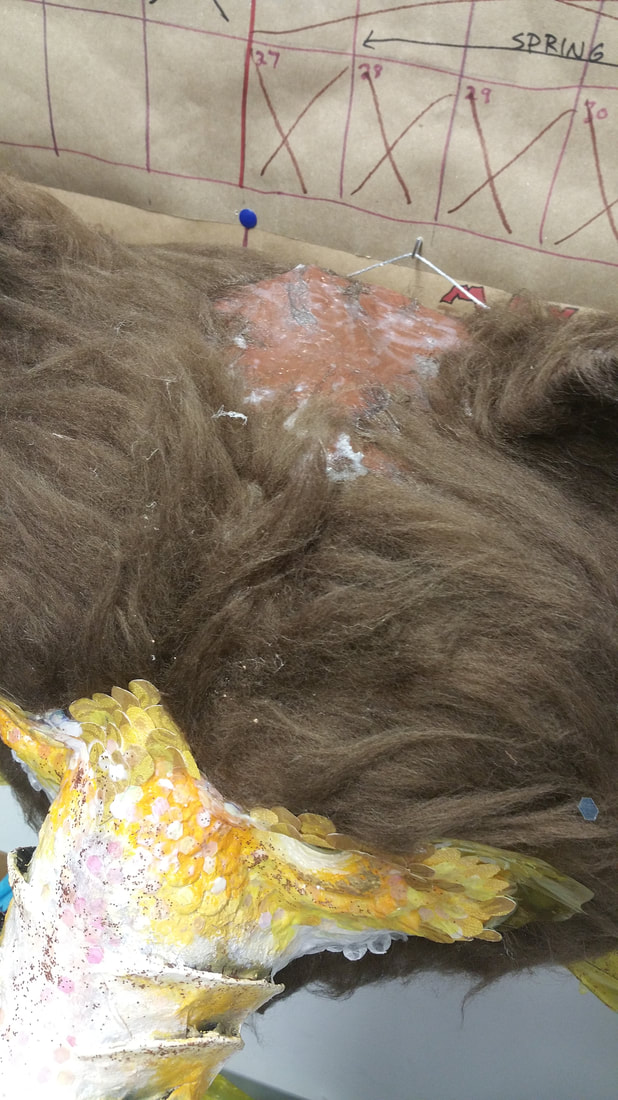
To finish, I coat any finalized paint with sealer. (Spray sealers are fine if your piece doesn't have fur. Don't seal your fur.)
To finish, I coat any finalized paint with sealer. (Spray sealers are fine if your piece doesn't have fur. Don't seal your fur.)